Even the most organized fly tying desks can have cluttered backgrounds that can be distracting when you’re trying to put the finishing touches on that perfect fly. It can not only adversely affect the quality of the fly you’re tying, but also cause eye strain. Here’s a simple, low-cost solution I came up with to block the complicated background of my tying desk…
The Problem
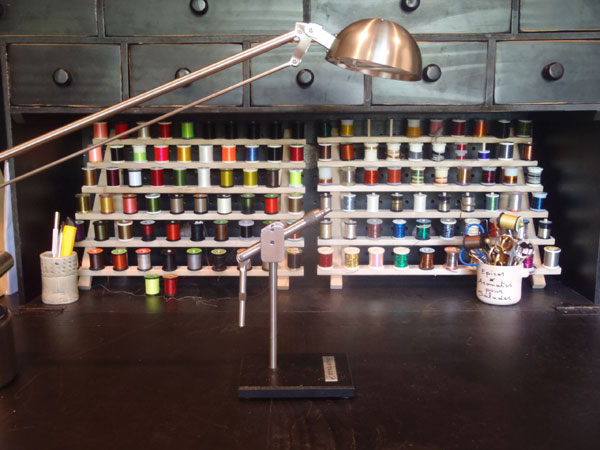
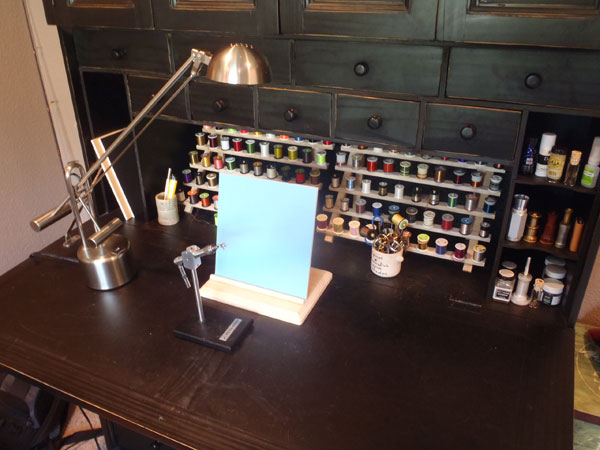
As you can see, I store my threads, wires, and tinsels on racks in the recess of my tying desk. This creates a very complicated background right behind my vise that makes it difficult to stay focused on what I’m tying.
The Solution
I needed a way to block the background that wouldn’t take up too much space on my desk and be an obstacle to accessing my tools and thread. I wanted something that would be easy to build, inexpensive, and would allow me to change the background colors depending on the color of fly I’m tying to produce the best contrast. Here is what I came up with:
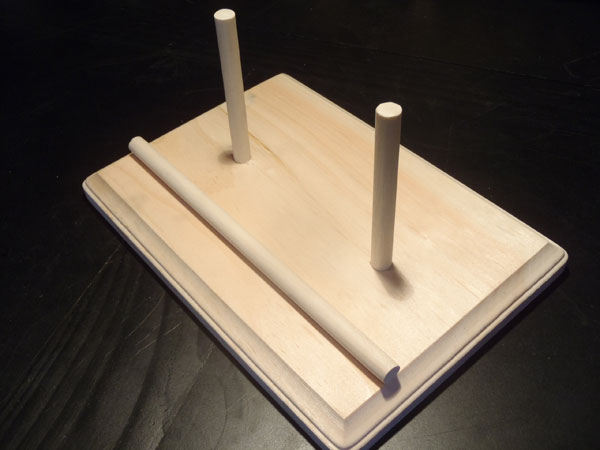
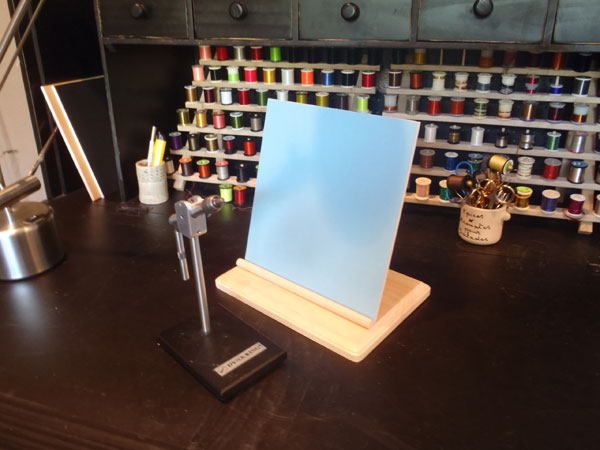
I made a simple stand that could hold a piece of foam board at a slight angle behind my vise. All the materials were bought at Michael’s. The base was $2, the dowel was 39 cents, and the foam board was $5 making this a great, sub $10 solution. All I did was cut the dowel to length, drill two holes in the base for the supports, and glue another dowel in front of those to rest the foam board on. This entire project took less than 15 minutes.
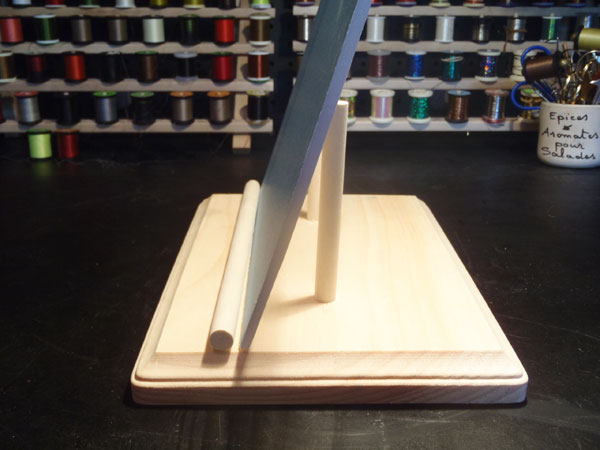
The foam board simply rests between the supports and the dowel glues to the base. I didn’t want to permanently affix the board to allow me to easily change colors:
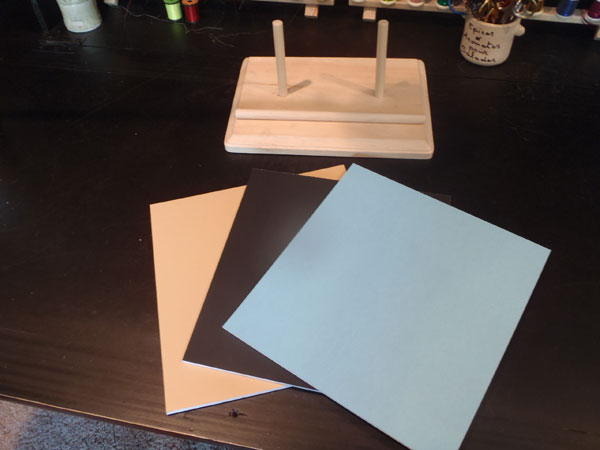
I cut three different colors of foam board to give me different options for background colors. For lighter flies, I use a darker background and vice versa. Although, so far, I find the light blue color to be the most versatile and easiest on the eyes.

The Result
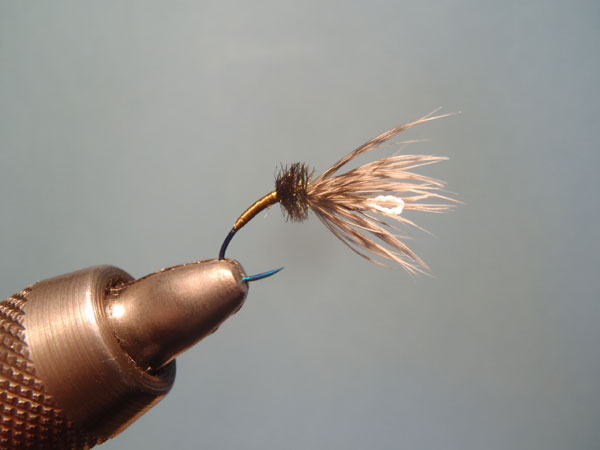
So far, light blue seems to be the best color with the least strain on my eyes. It also makes a good background for photographs:
Further Thoughts
Of course, there are a million ways you could make your own background plate. This one just worked for me. If you don’t want to build your own stand, you might be able to find ready made solutions such as recipe book holders or other devices (though they may cost more). If you do decide to make your own stand, here are some things to keep in mind:
- Rather than using foam board, you could use other materials such as regular cardboard. Glue construction paper to to it to get the color you want. You might also be able to get matting scraps from your local frame shop for free.
- Be sure to choose a material that has a matte finish. Anything shiny will produce glare that is distracting and can cause strain.
- When considering colors, avoid extremes like black or white as these produce too much contrast and make it difficult to see fine detail in your fly. Instead, muted colors like gray, light blue, tan, light green, etc. are best.
- When cutting the plates, they should be 4″ – 5″ higher than the top of your vise for the best coverage.




Fantastic idea! All these background plates you see for sale go for upwards of $20 so this is a nice solution, especially being able to change the colors when nessecary.
Nice and orderly fly tying station you have. tj
Thanks TJ. And it always looks that clean and organized, absolutely 100% of the time.
I love your desk with all the drawers! I use my Grandfather’s old tying desk which is nice but to have all those drawers would be heaven!
-Tom
Hi Tom, yeah the drawers are nice but the desk is so dark I feel like I’m tying in a cave. If I ever get another tying desk, I’ll get a light oak colored one more like Karel has.
Your fly tying area is a LOT cleaner than mine.
That’s just about brilliant!
i can see one of these in my future. great stuff jason. thanks.
Where did u acquire the thread holders? Very, very nice.
Michael’s in the sewing thread section
Great idea Jason. I am a novice ,I particularly noted your suggestions about colour selections .Thank you.
Very nice idea.
What size is the background plate base?
Hi Bruce, thanks. It’s about 10″ X 10″. But in retrospect, I should have made it a little bigger so that I don’t run out of room when taking pictures.