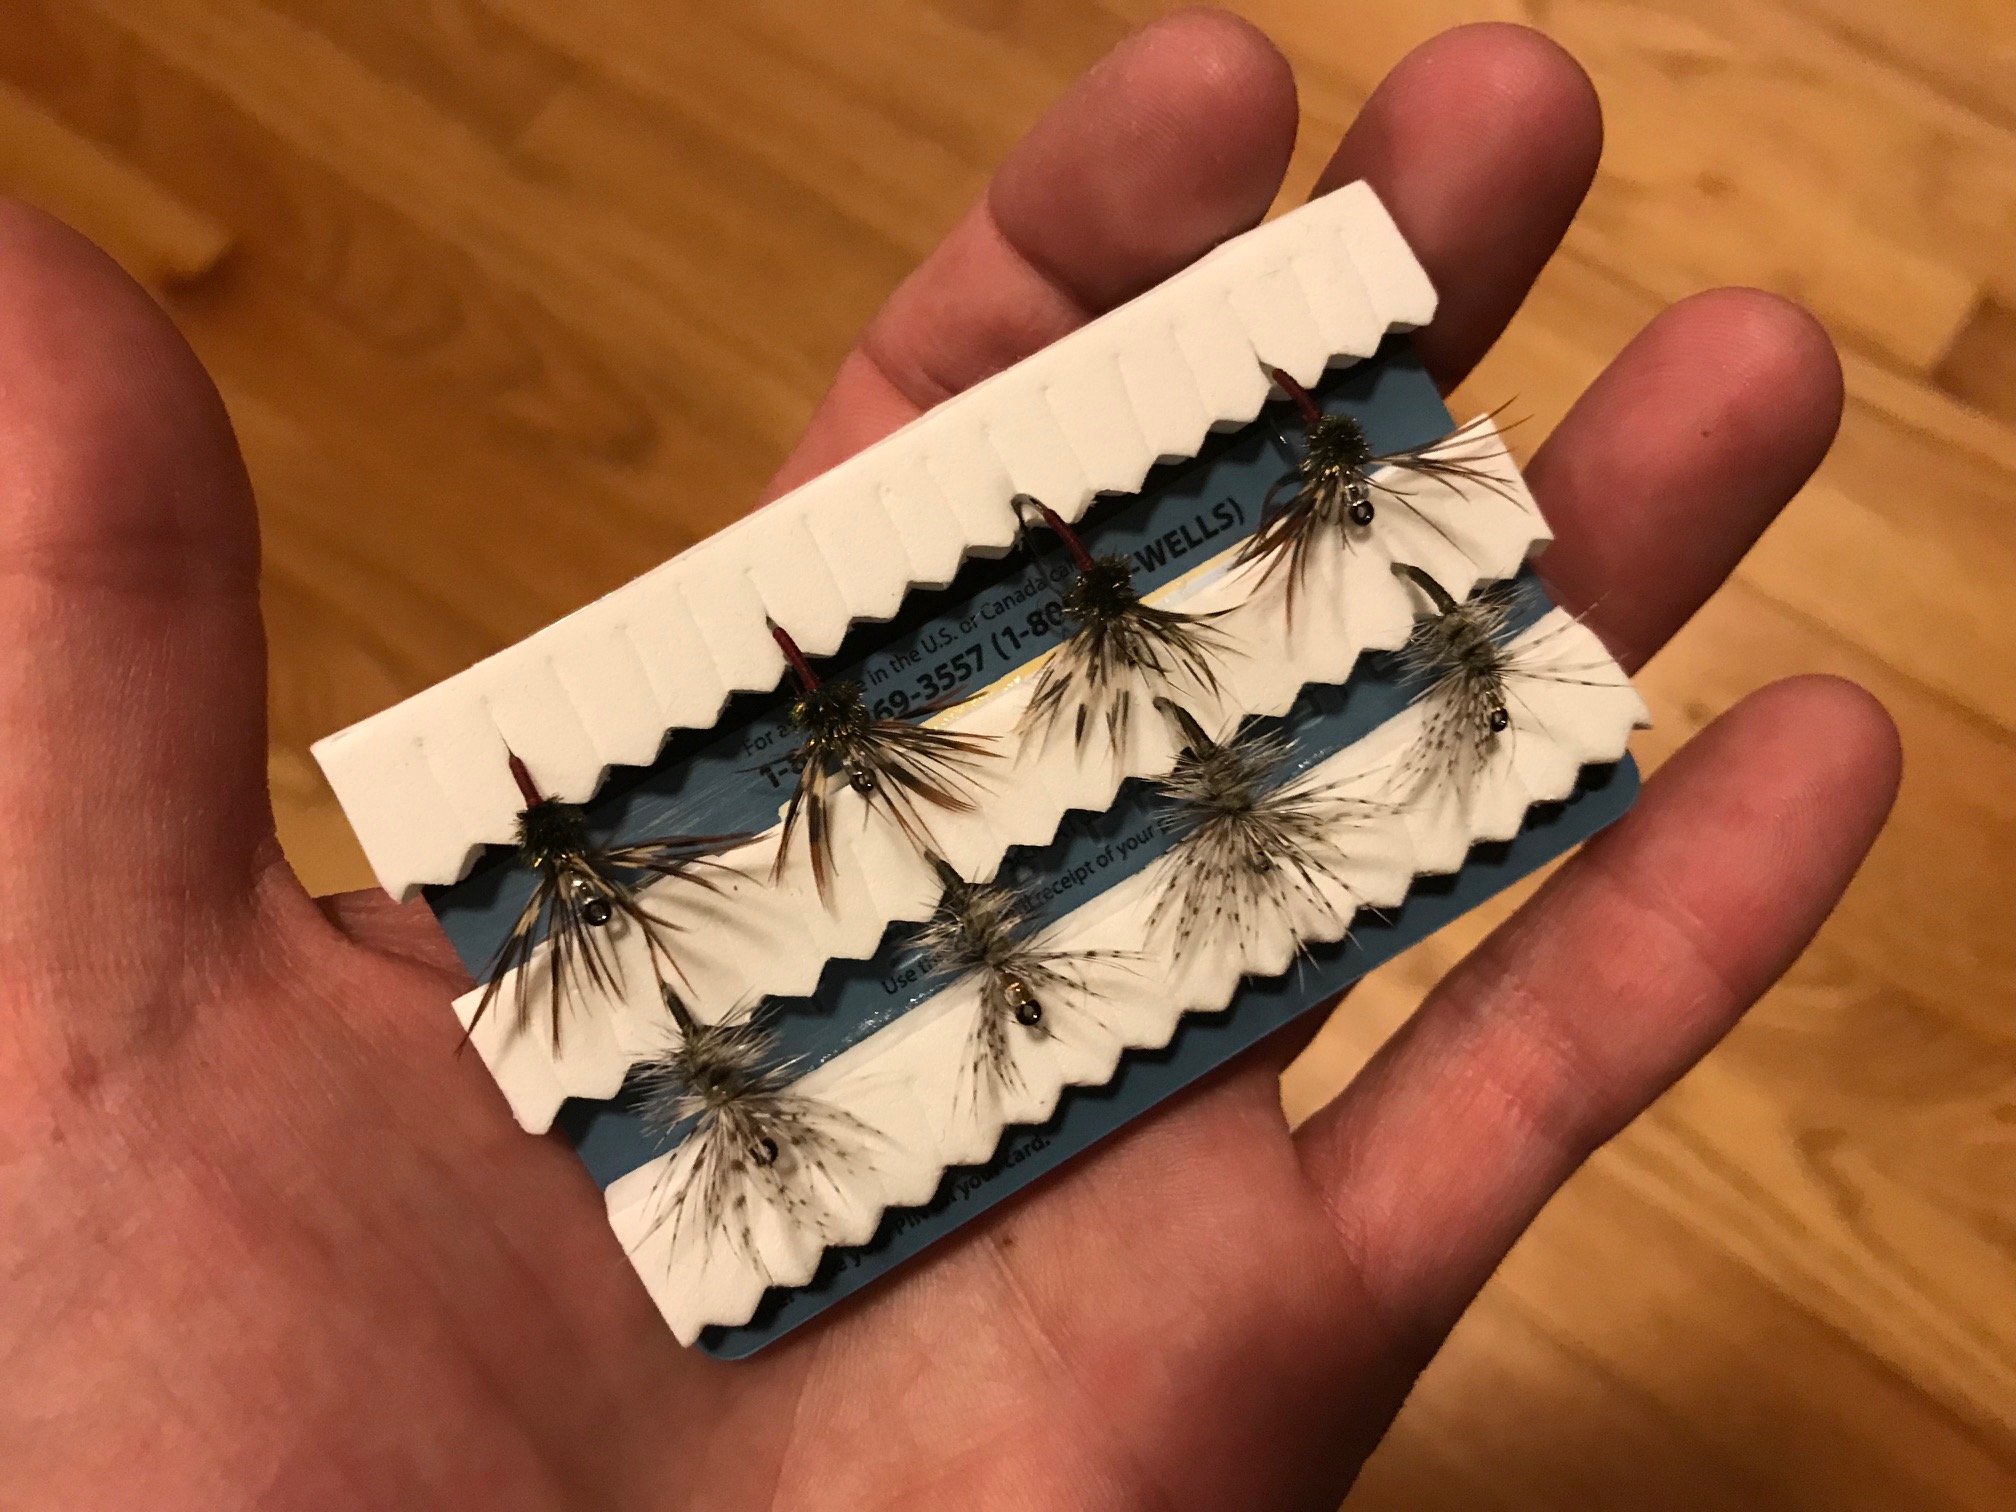
 Whether you need to swap out a waterlogged dry fly for a fresh one or are just switching patterns altogether, it’s never a good idea to put a wet fly back in your box. To avoid rusting the other flies in your fly box and to allow them to dry faster, it’s best to allow them to air out in the open. For this reason, a fly drying patch makes sense. There are a lot of commercially available ones–some cheap and some expensive. But I seem to have a habit of losing them, plus, I like to have several on hand since I use different packs according to different situations. So, I decided to start making my own.
This design is not completely my idea. I saw some examples online of people making DIY fly boxes this way and thought I could apply it to making patches and it seems to work well so I thought I’d share. Of course, like any DIY project, you could tweak it a million different ways, but here is what I came up with.
What You’ll Need
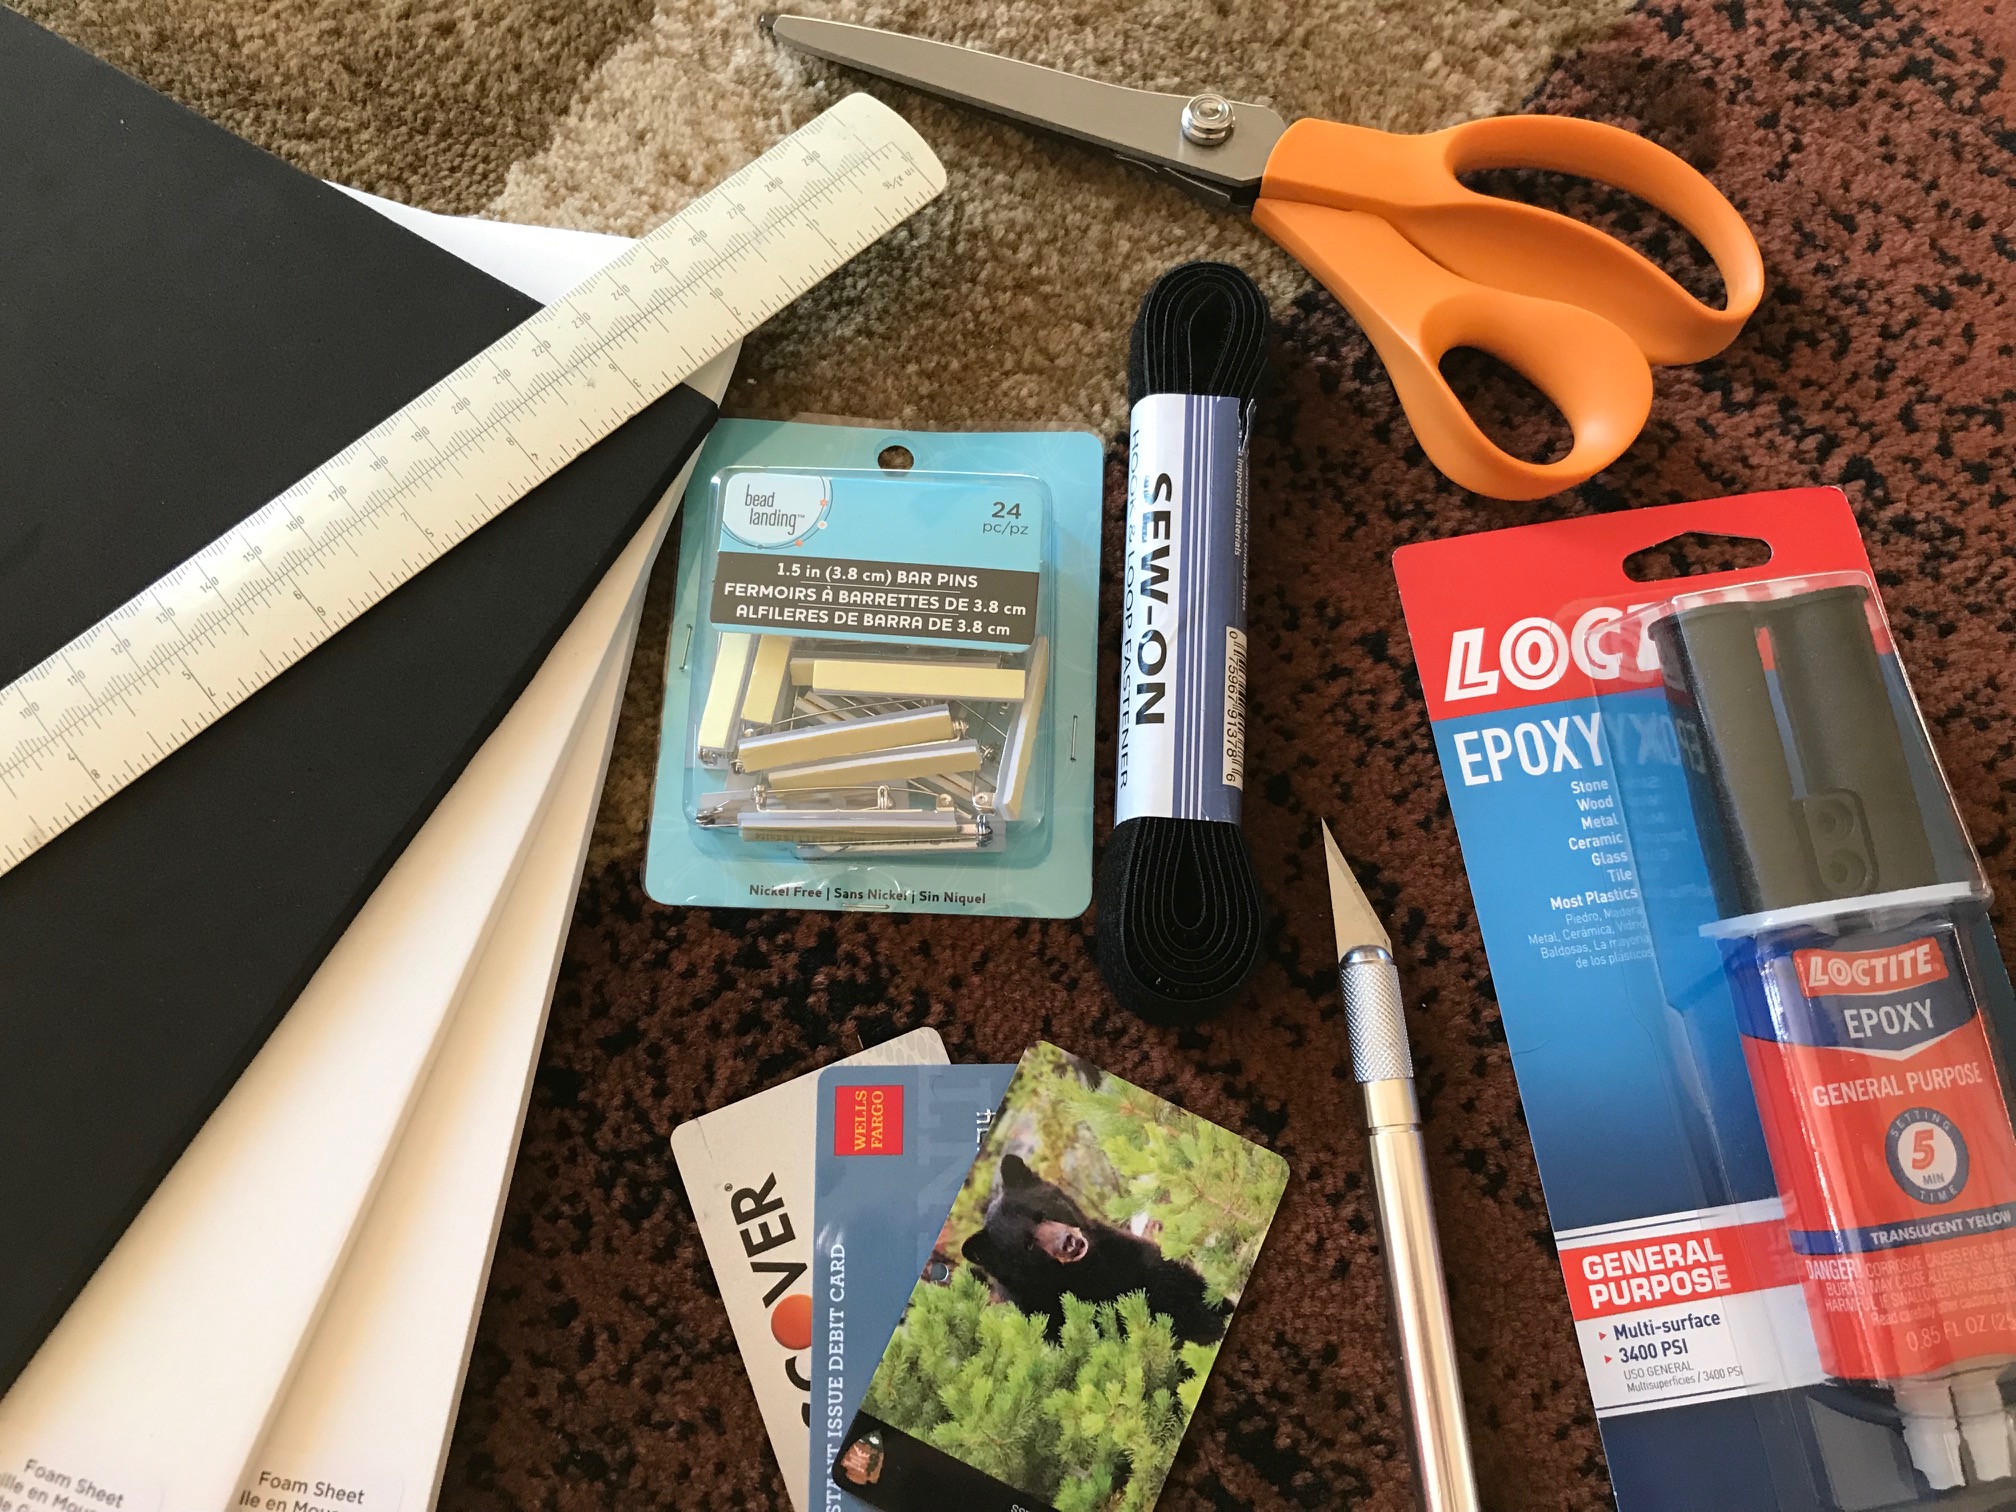
- 1/4″ Craft foam (color of your choice)
- Some old credit cards, club cards, or other rigid plastic cut to size
- X-Acto knife
- Ruler or straight edge
- 1.5″ bar pins and/or Velcro
- Pinking shears
- Adhesive such as 5-minute epoxy, 3M #77, Aquaseal, or Loctite Vinyl Fabric & Plastic (for Velcro only)
Some of these materials and tools are optional or can be substituted. I’ll explain as we go.
Step 1
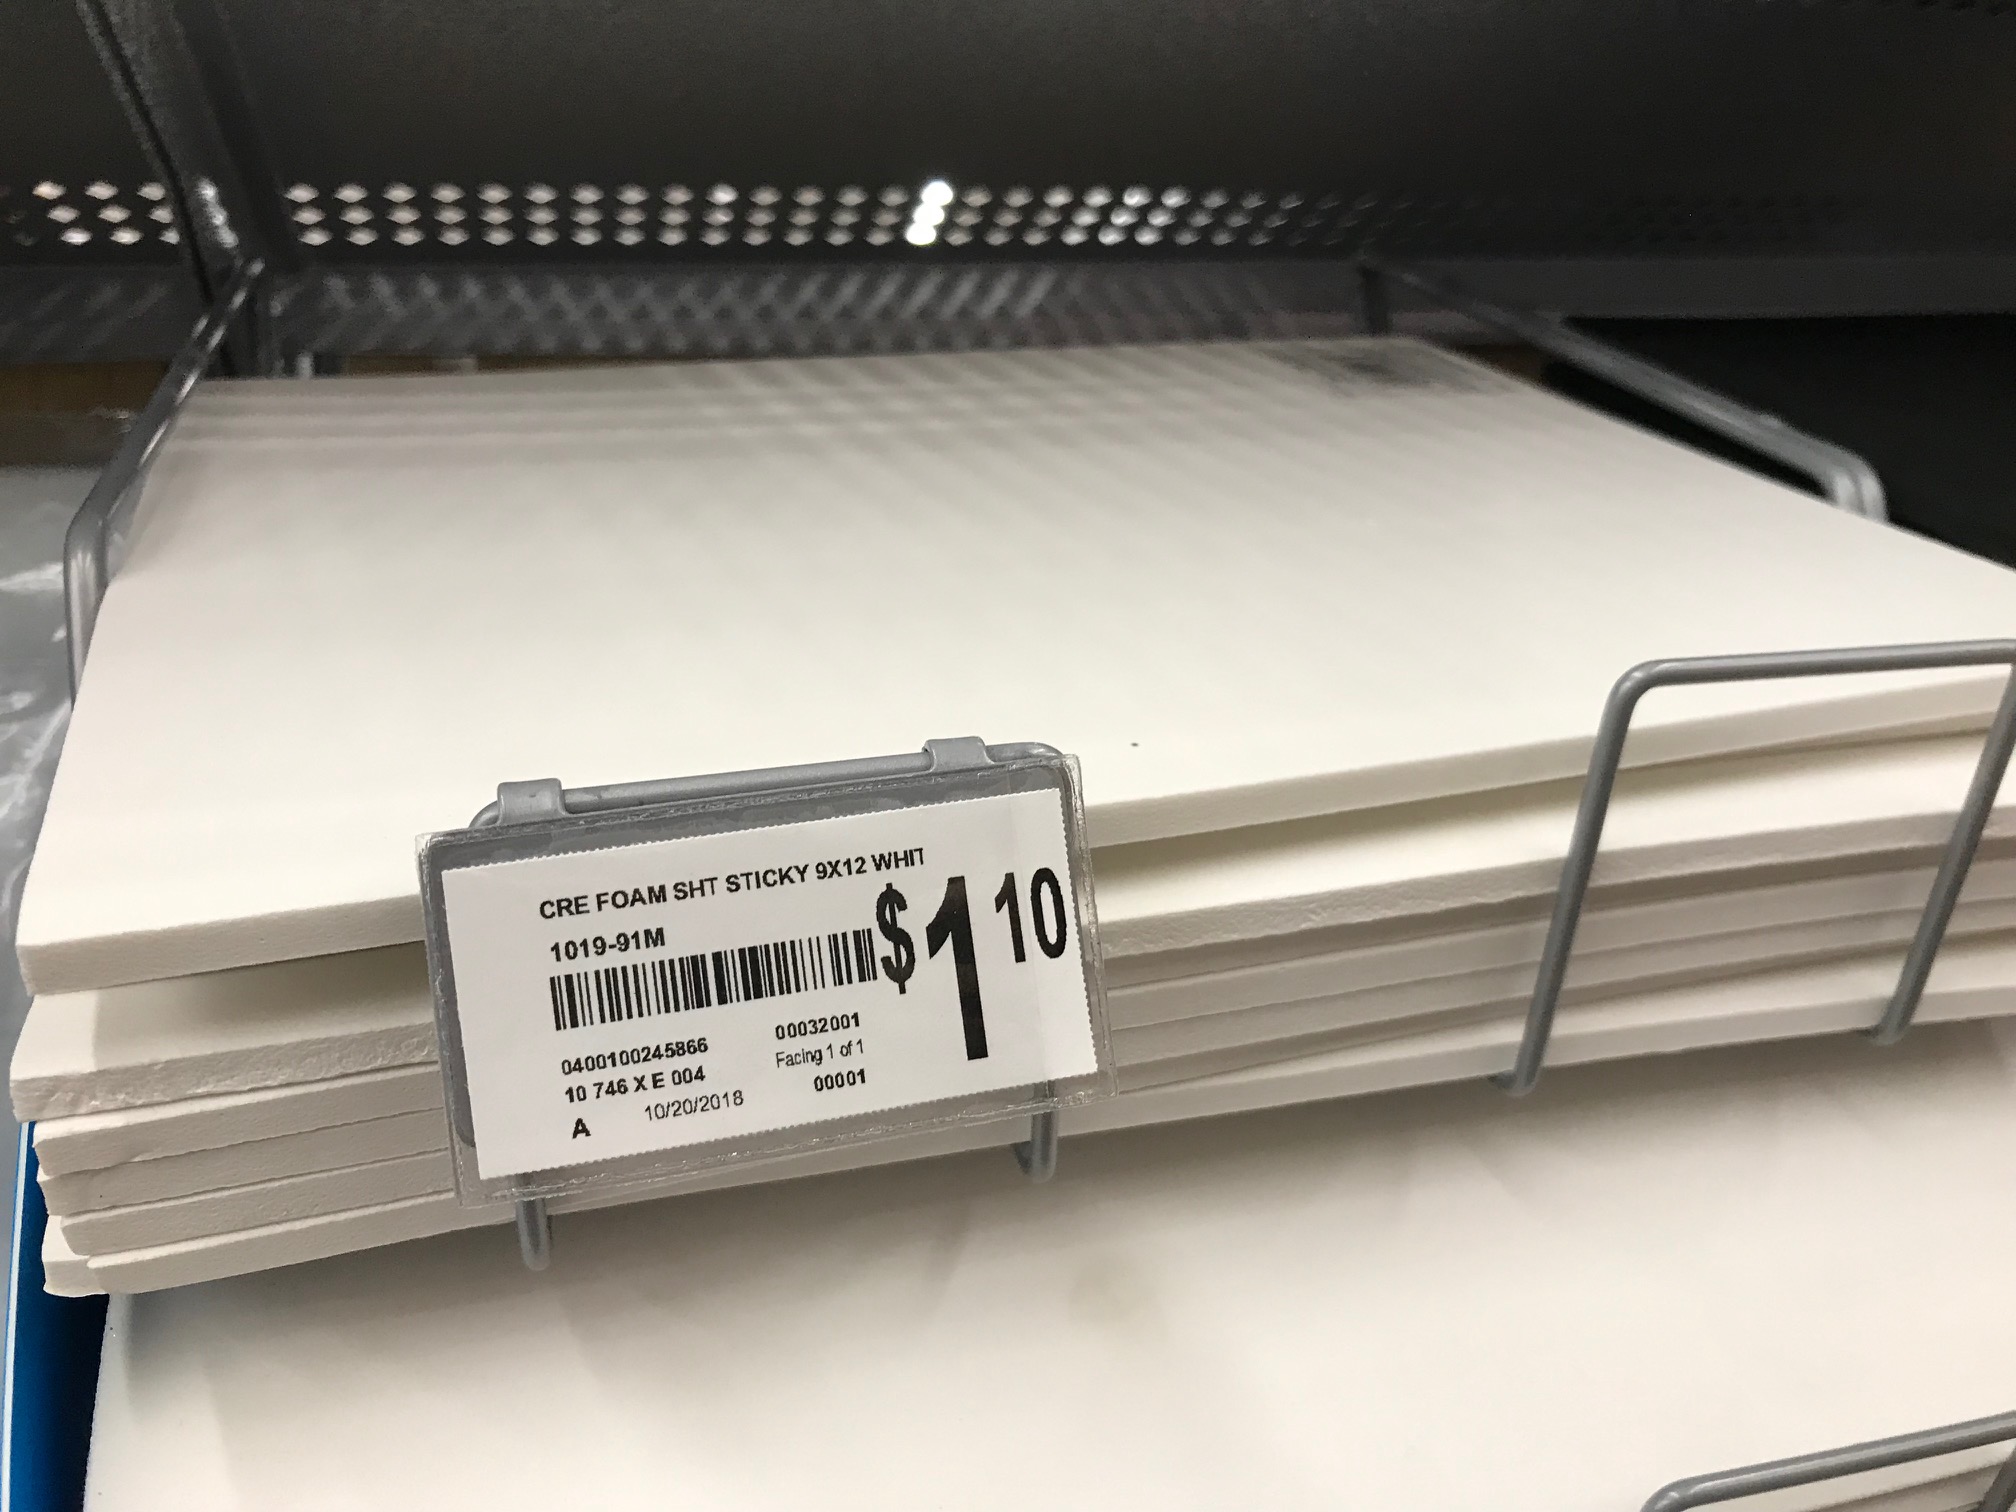
You’ll need to get some craft foam from your local arts and crafts store. Make sure you get the 1/4″ and not the 1/8″ foam that is popular for fly tying (it’s too thin). Depending on how your local store stocks it, you can get it in a variety of colors (but mine only carries black and white).
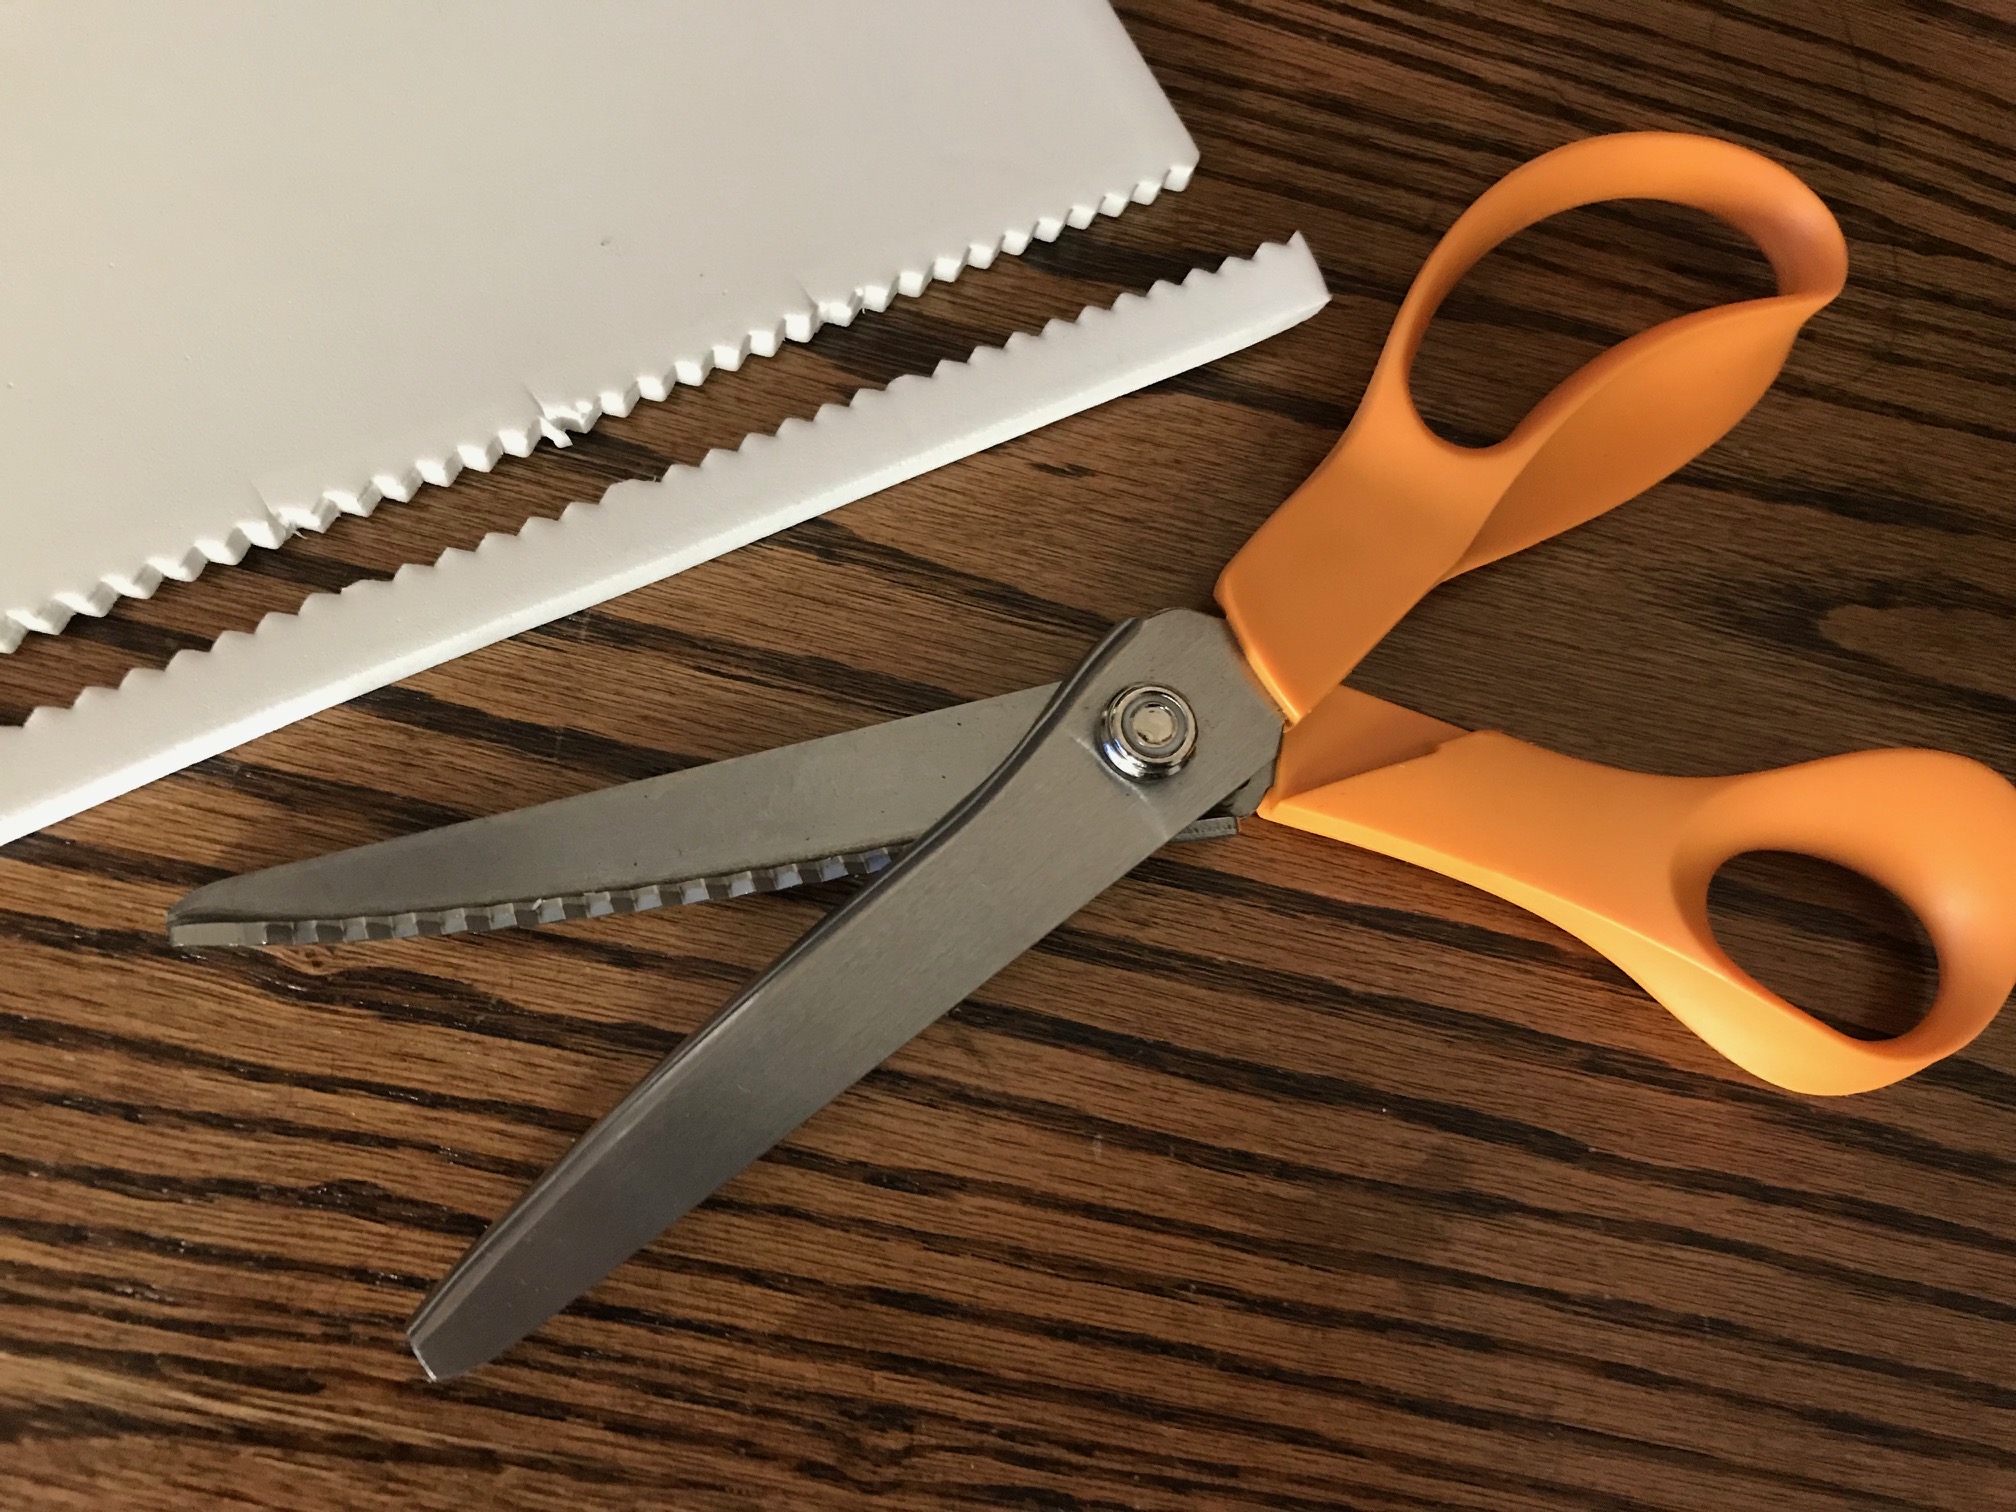
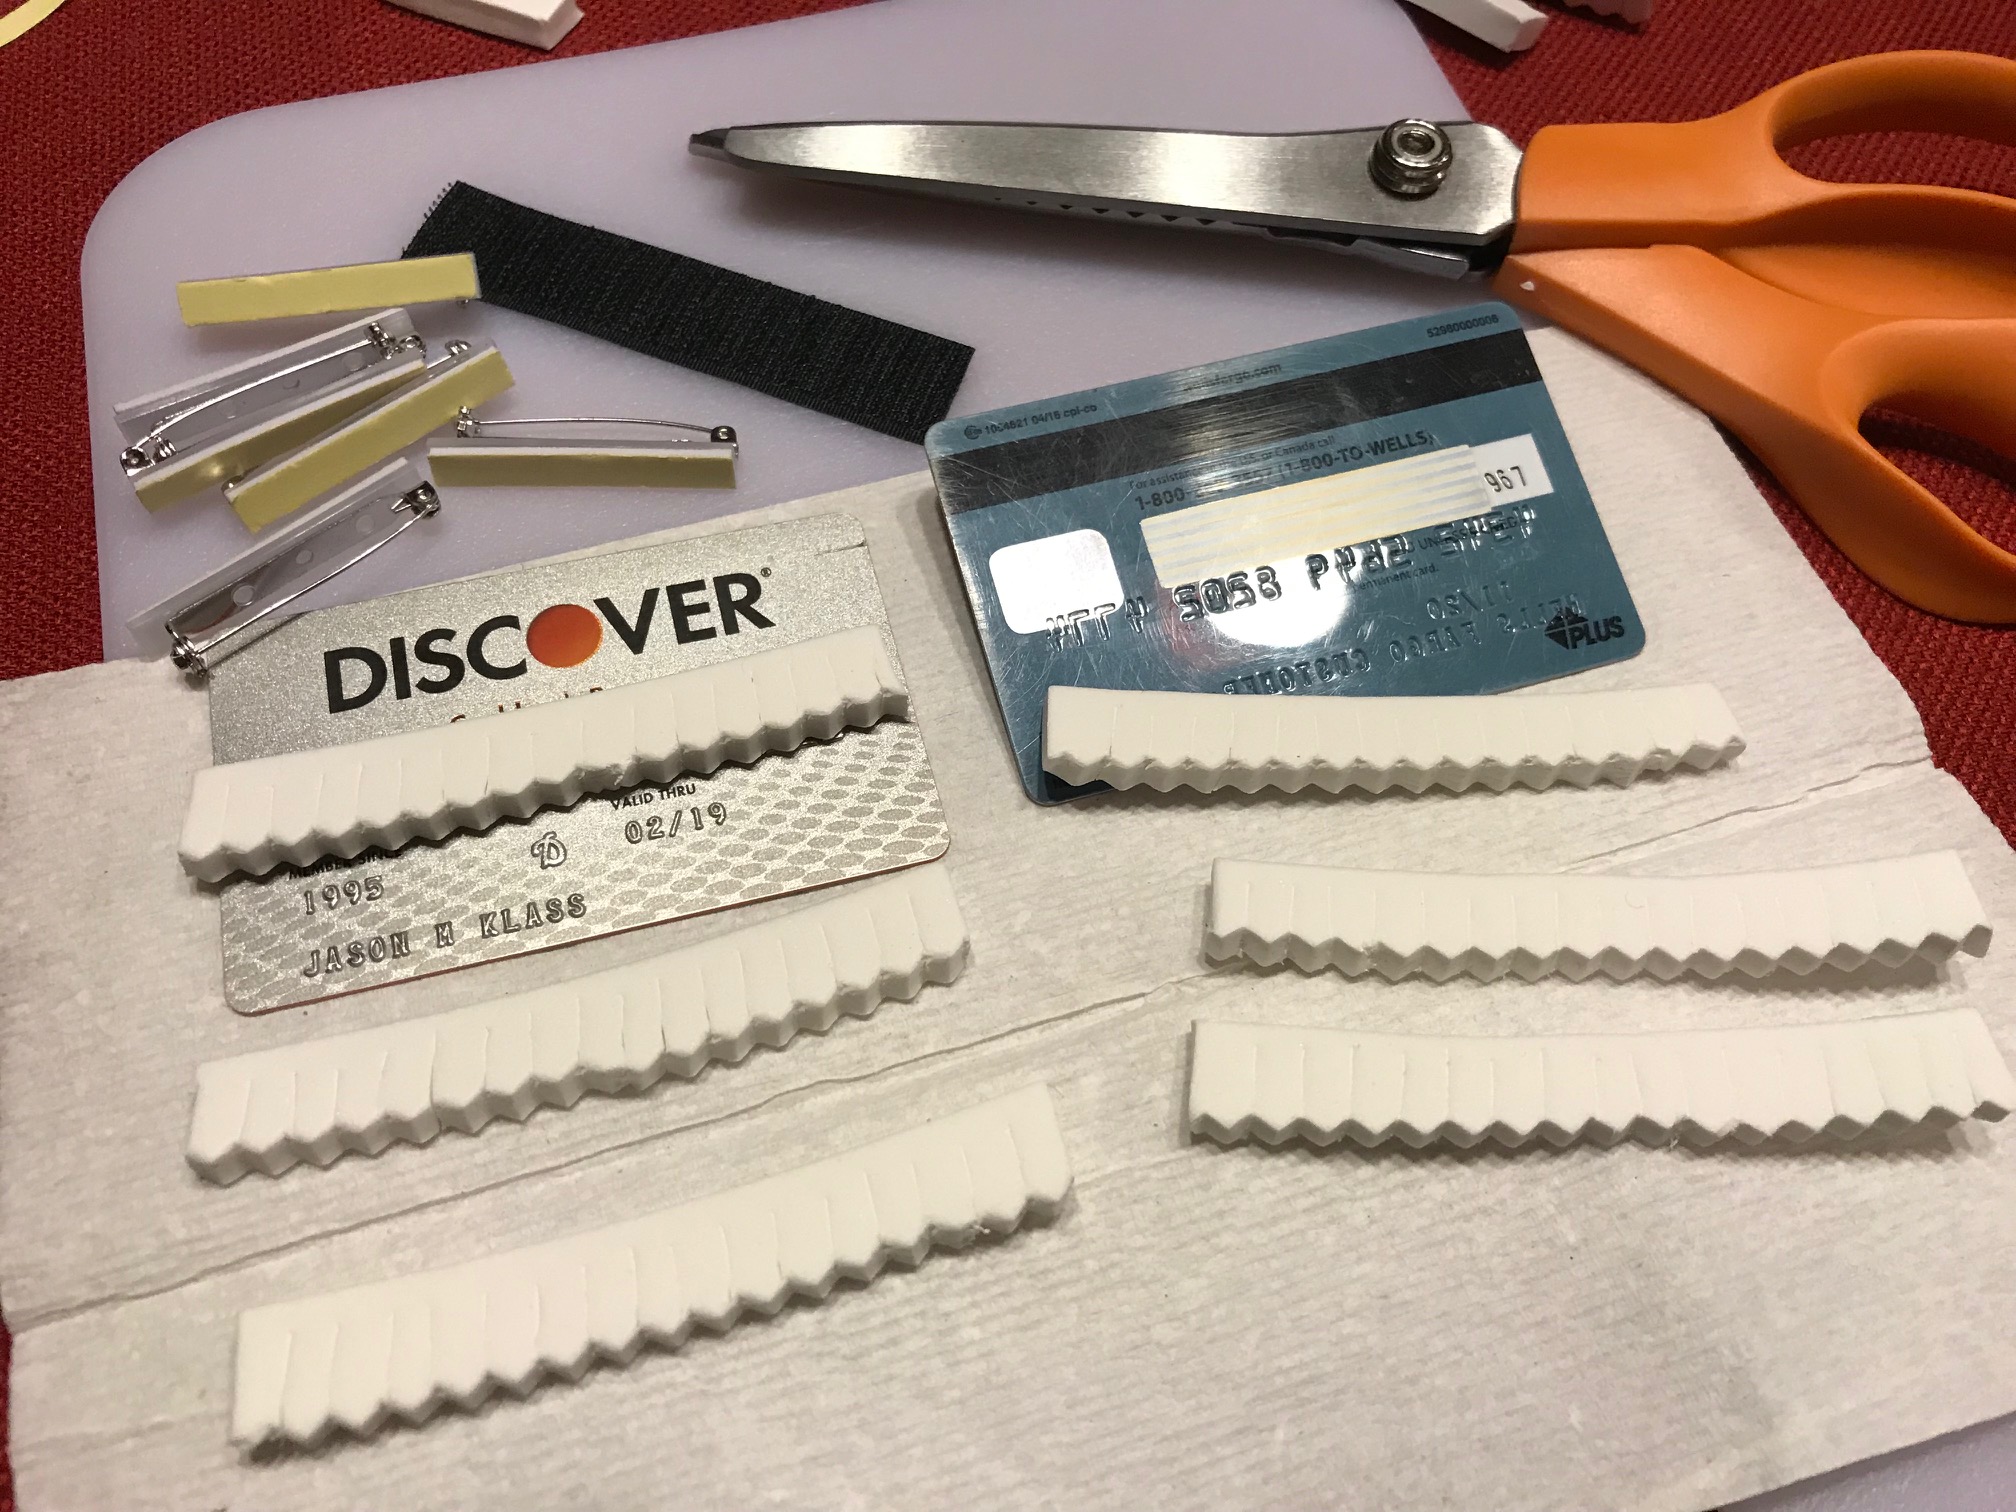
 You’ll also need pinking shears. These are specializes scissors that cut in a zig-zag pattern and are used for cutting fabric so the edges don’t fray (I didn’t know what they were either). You can skip these if you don’t want to spend the money (they’re about $20) and just use regular scissors, but they do make a nice V-shaped edge that makes it easier to slide the hook bends into (like C & F Designs fly boxes).
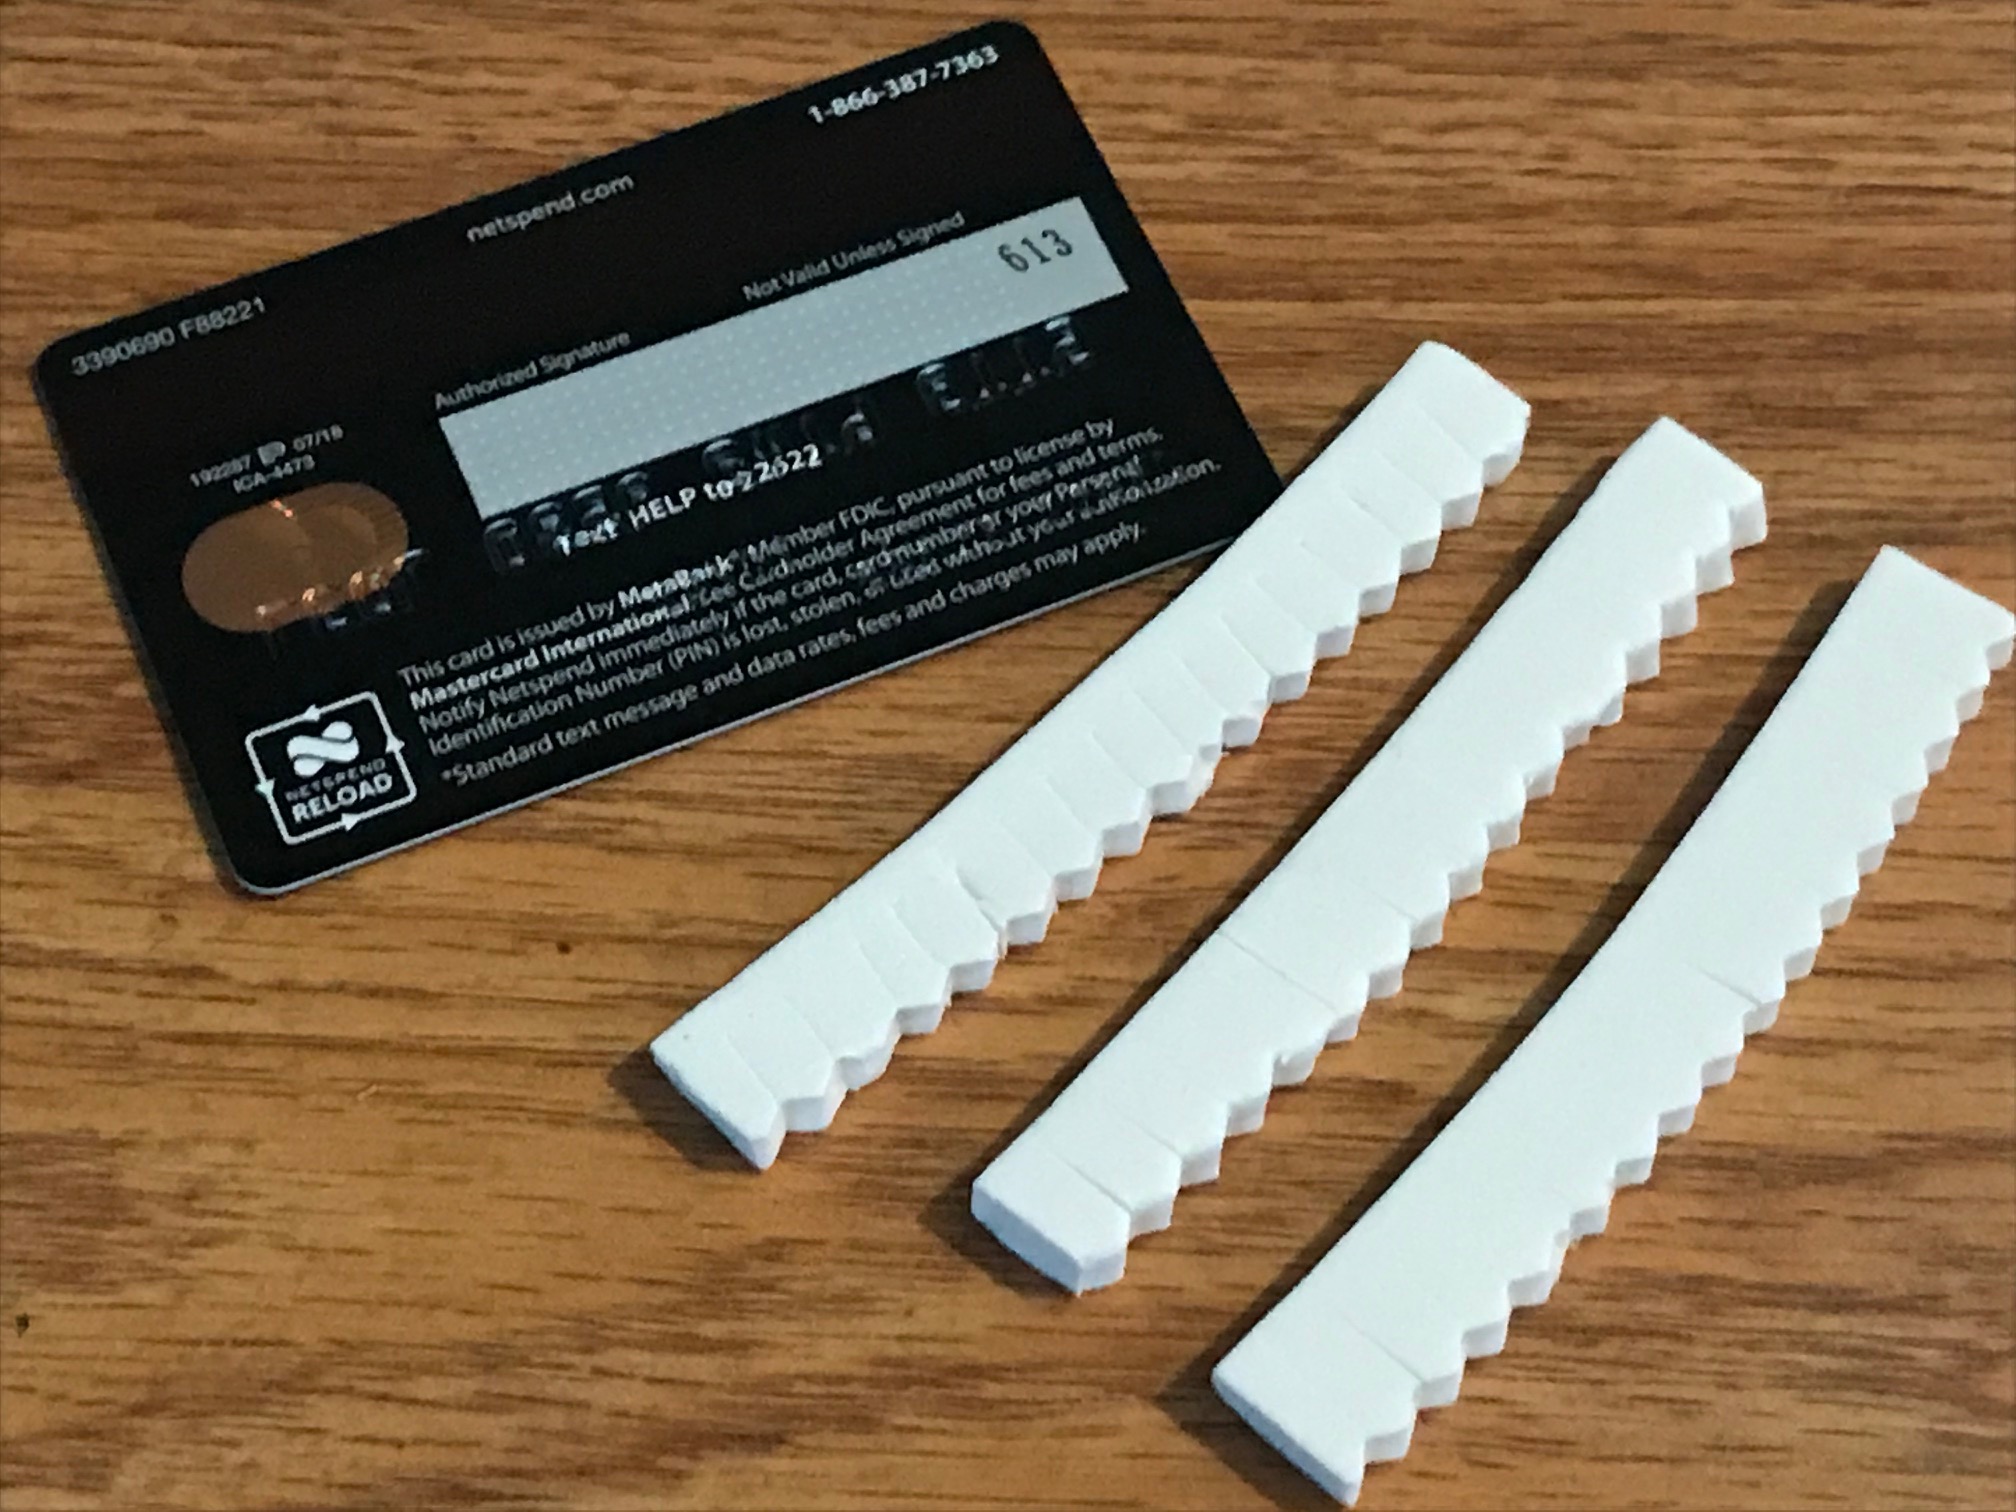
Take the pinking shears and cut several strips (the width is up to you). I don’t measure them, I just kind of eyeball it but somewhere around 1/2″ is good.
Step 2
Next, take your backing (old credit card or other rigid material cut to size) and cut the foam strips so they measure edge to edge.
Step 3
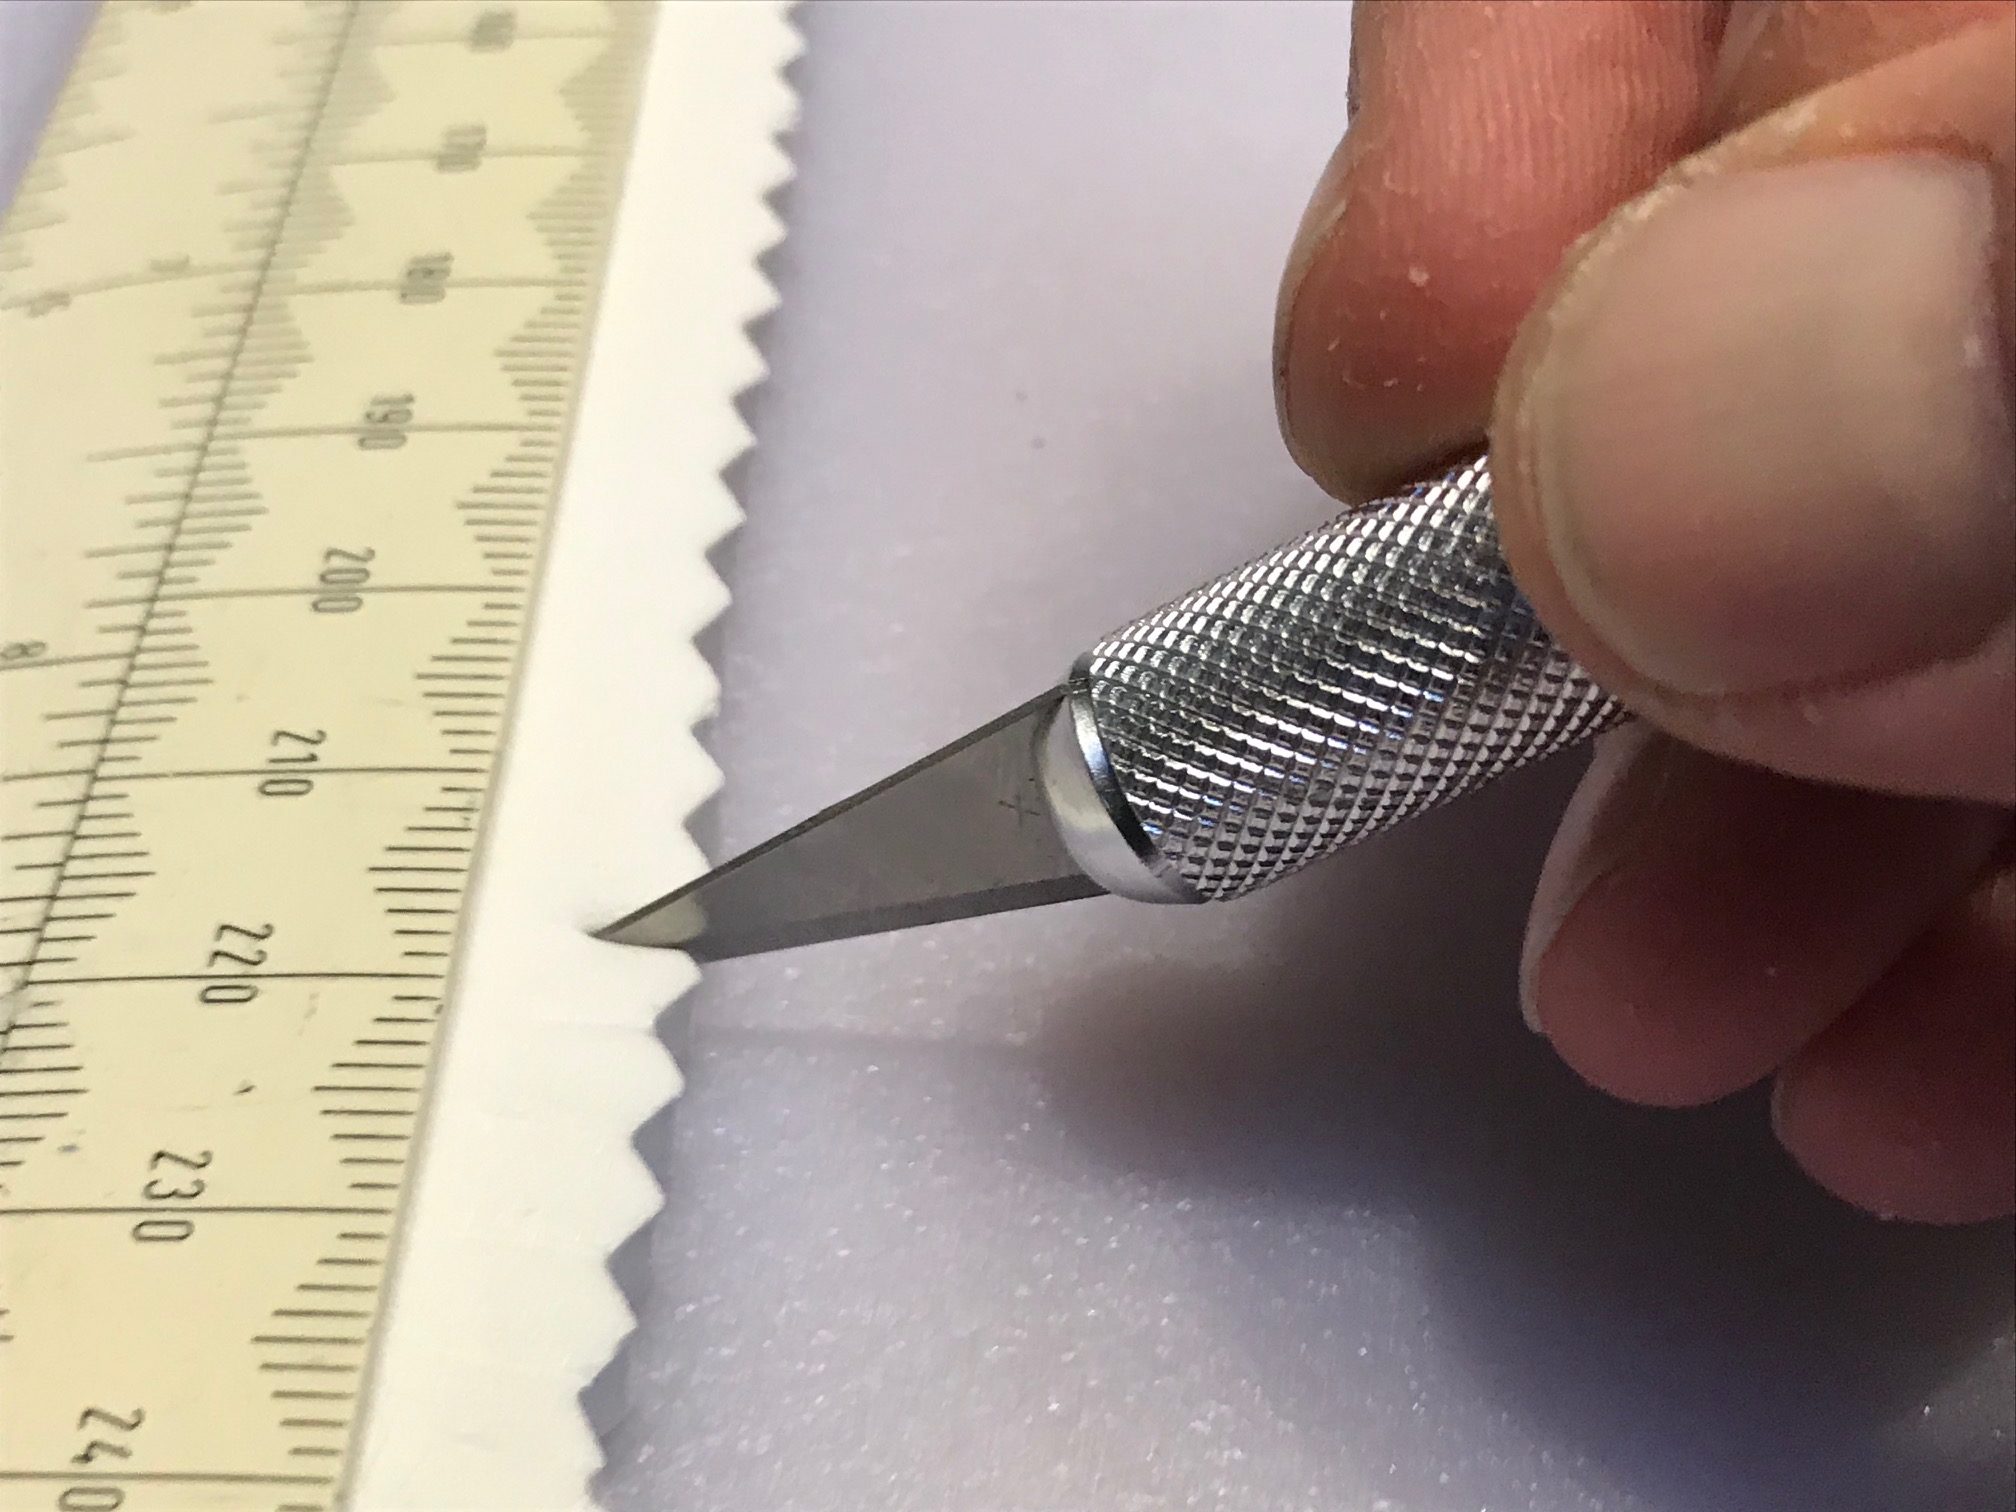
With your X-Acto knife, cut slits in the valleys created by the pinking shears. Cut almost to the edge but not all the way.
Step 4
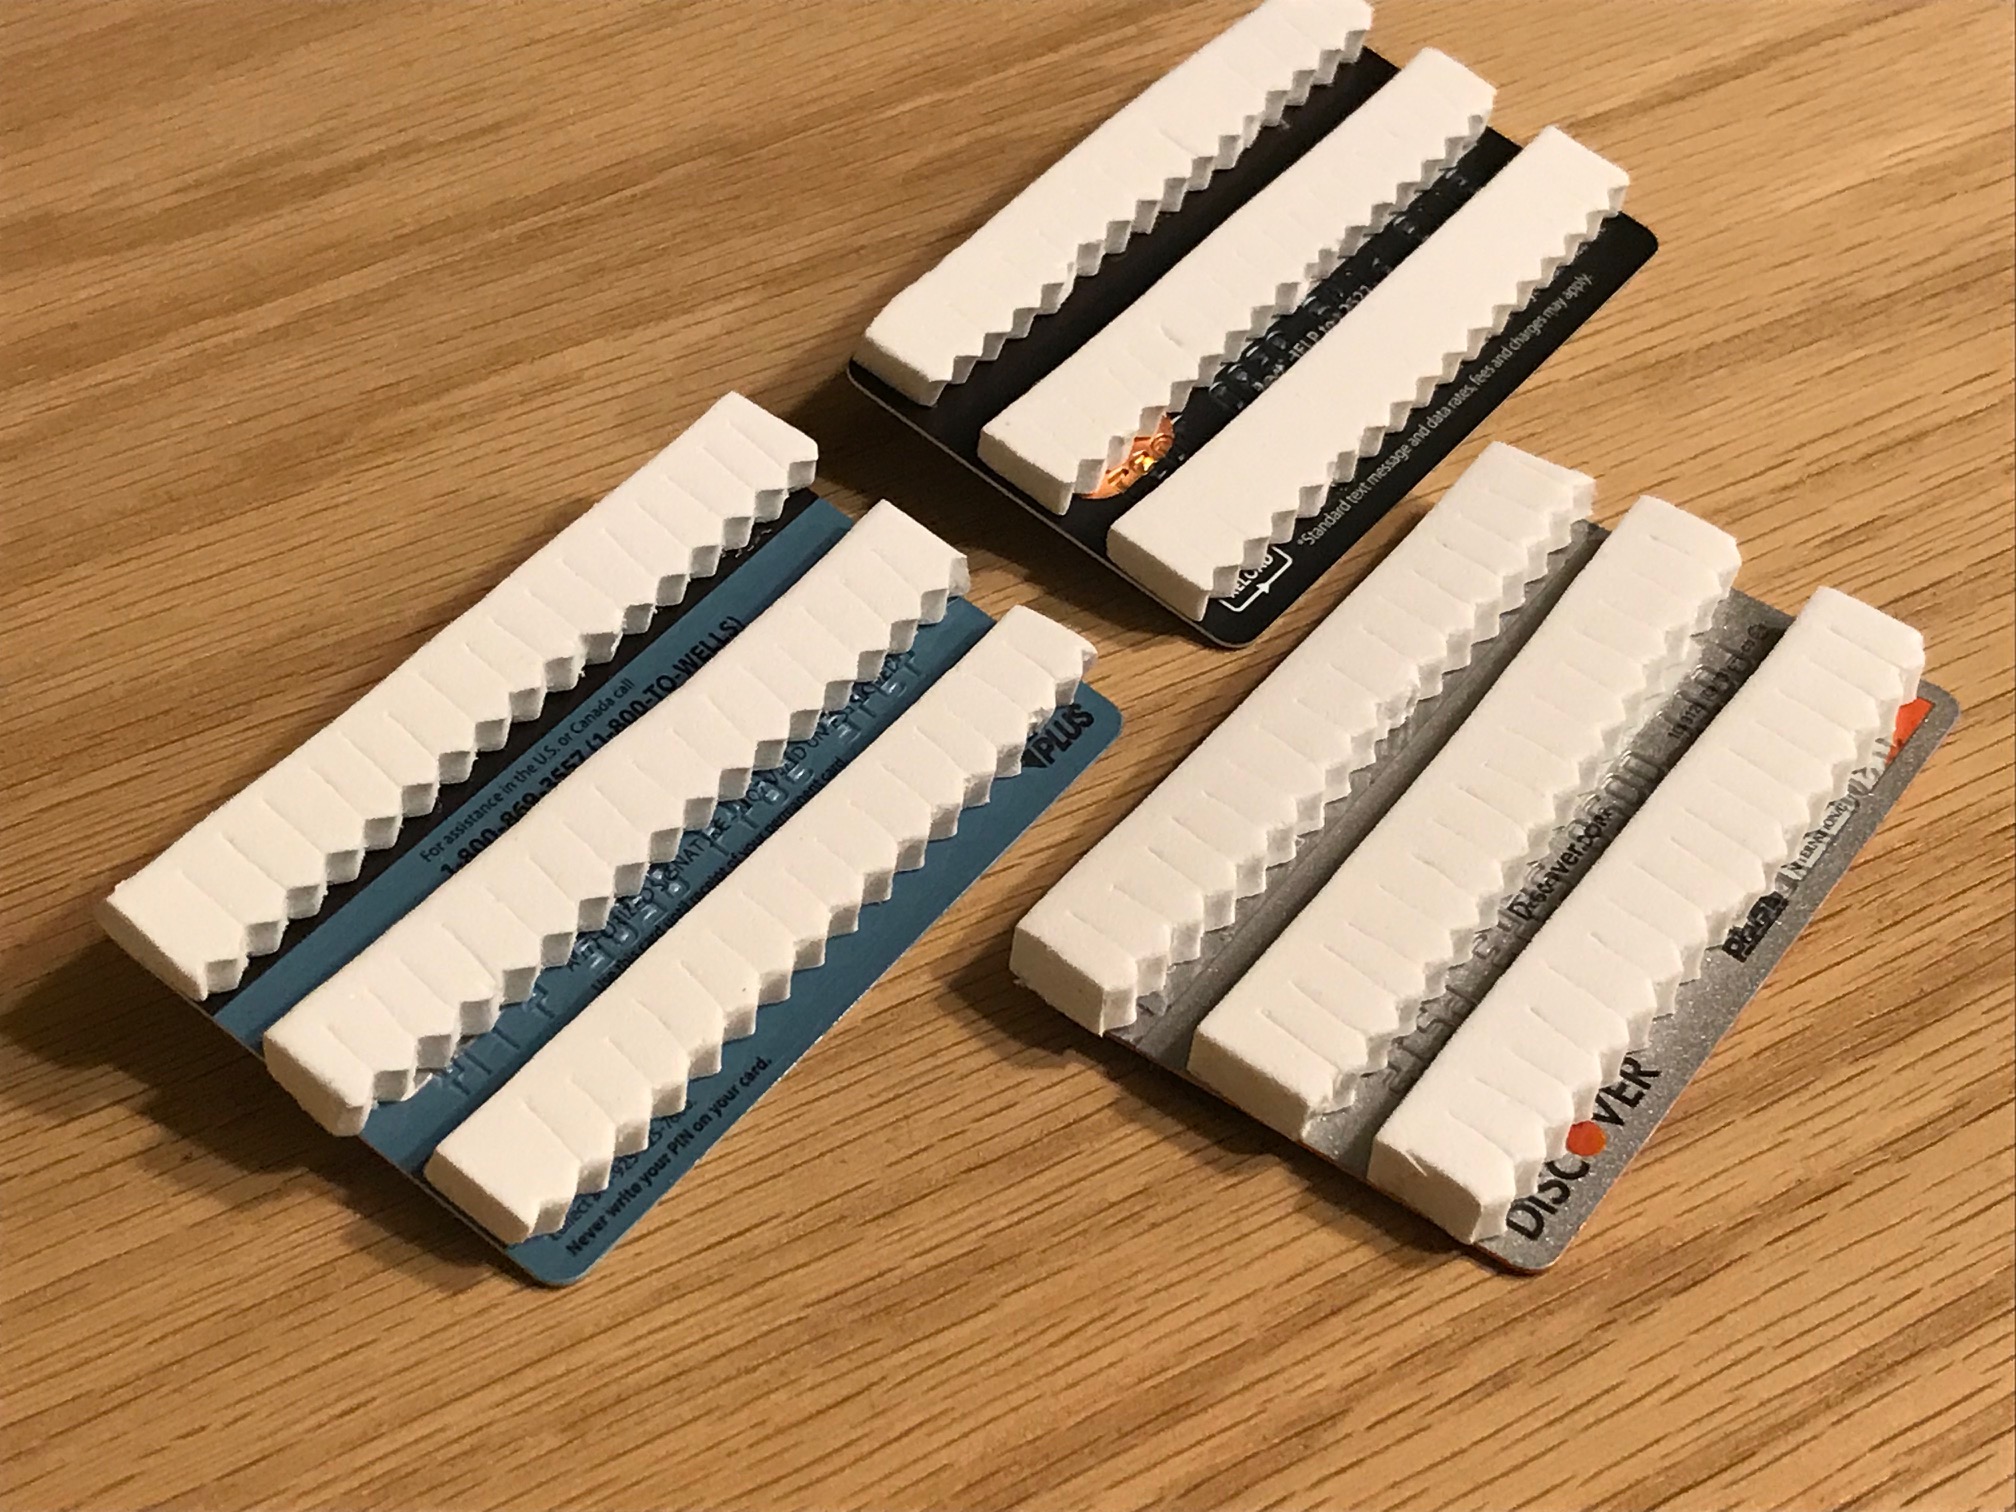
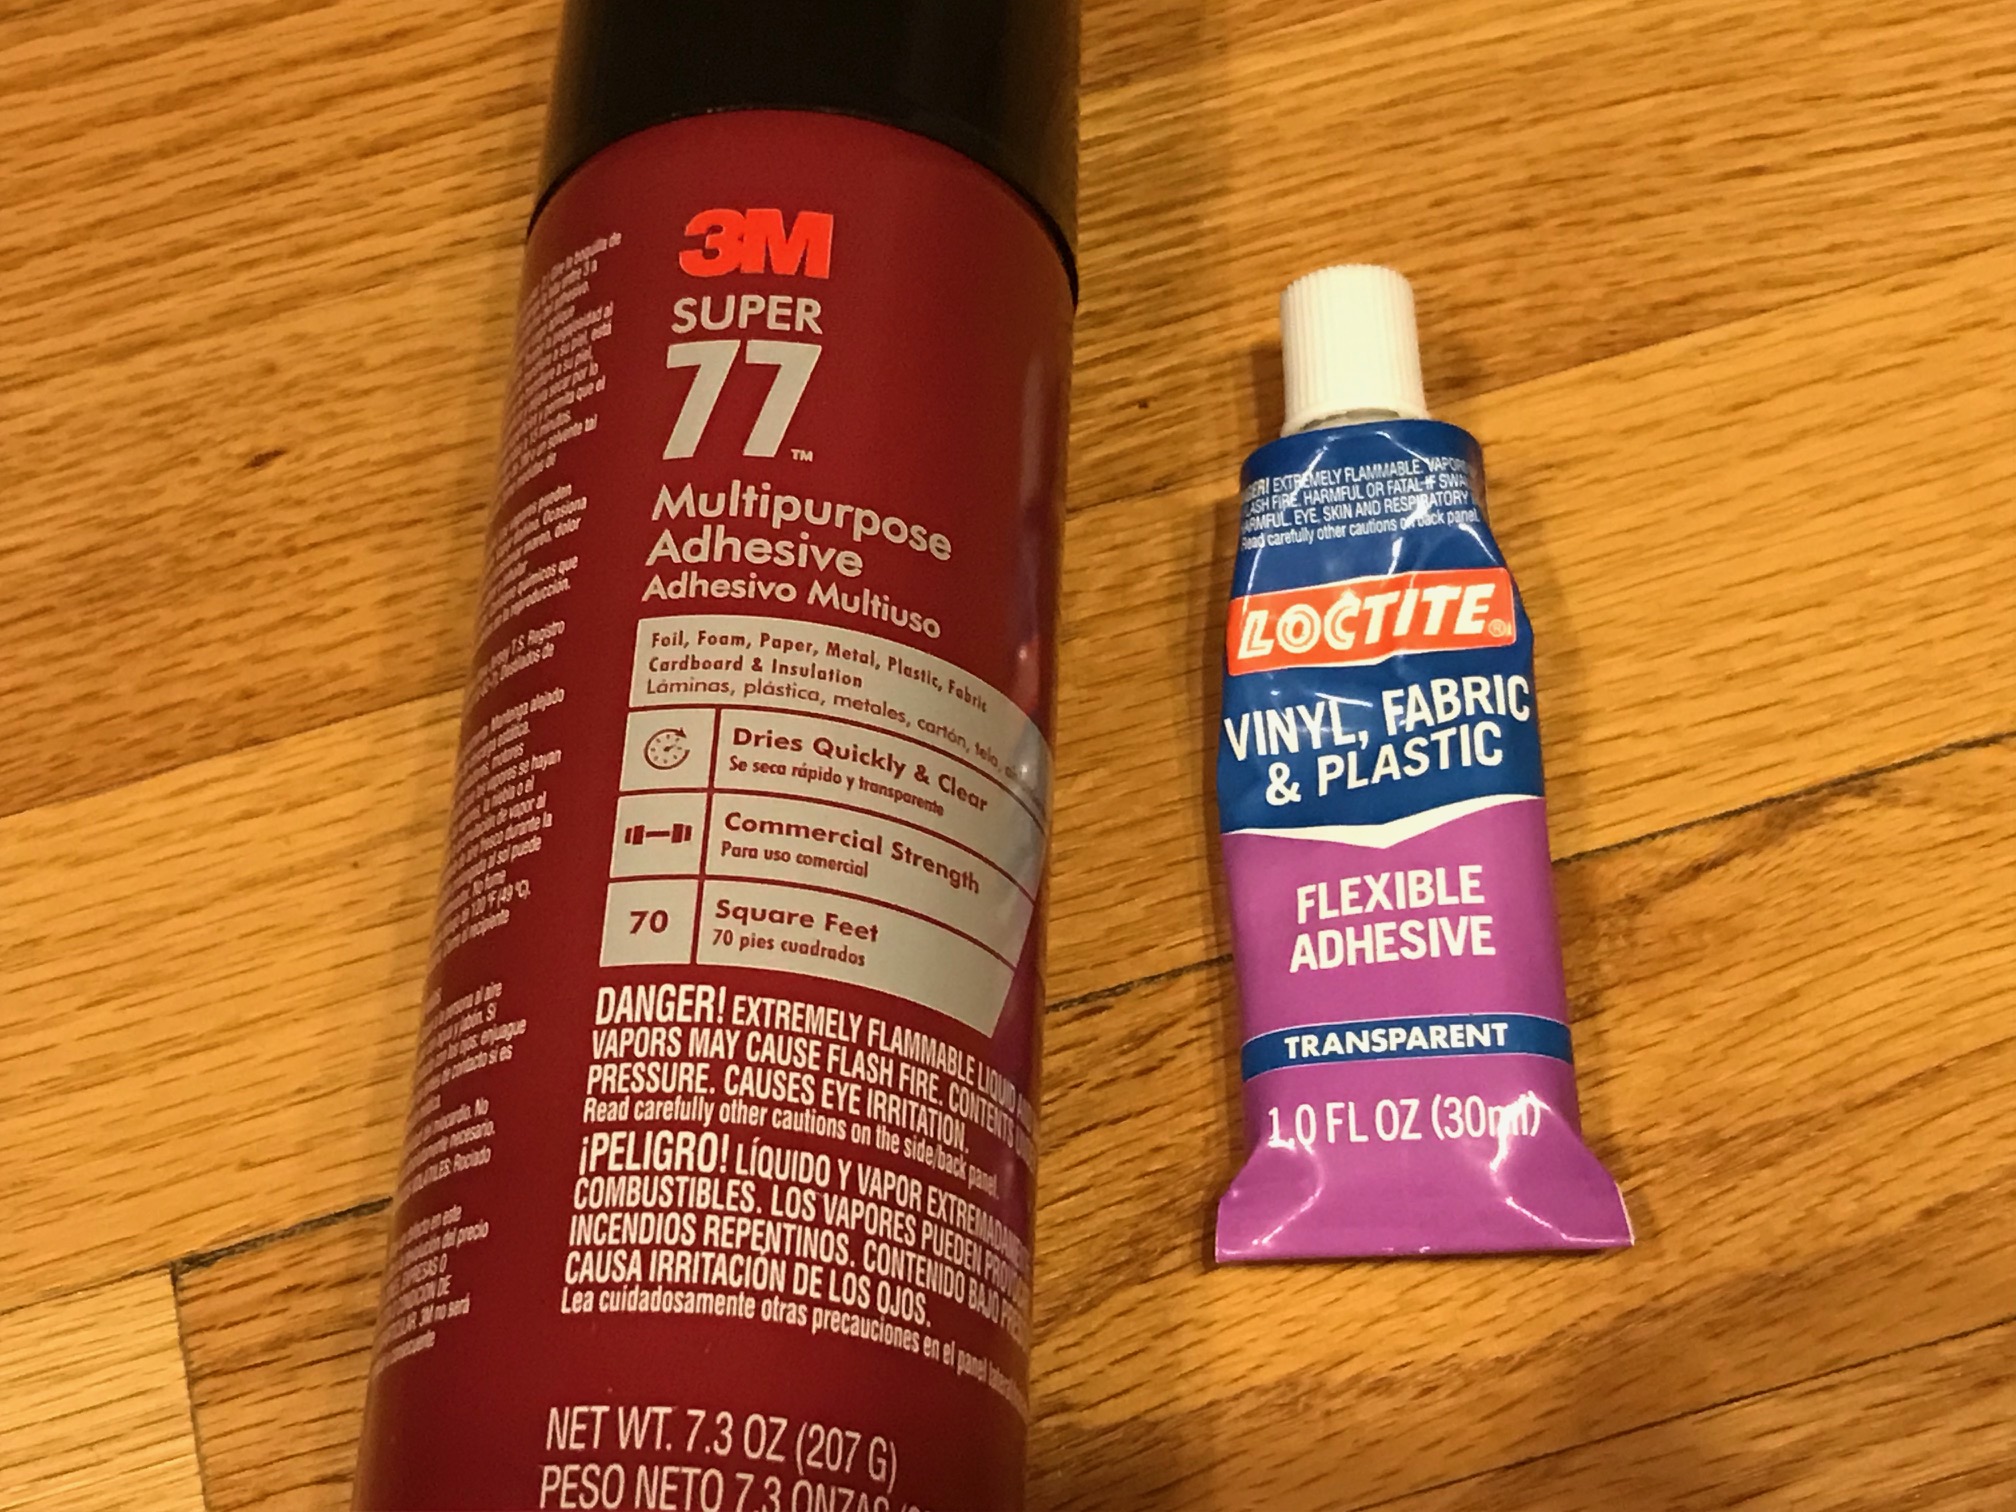
Now, it’s time to glue the foam strips to the backing. You can use many different adhesives. Epoxy works well. But you could also use any adhesive that sticks to foam. I used 3M #77 spray adhesive. The number of strips you add depends on the size of the backing you’re using. For something the size of a credit card, I use 3, but of course, you can use more or fewer depending on what you’re using for backing.
Step 5
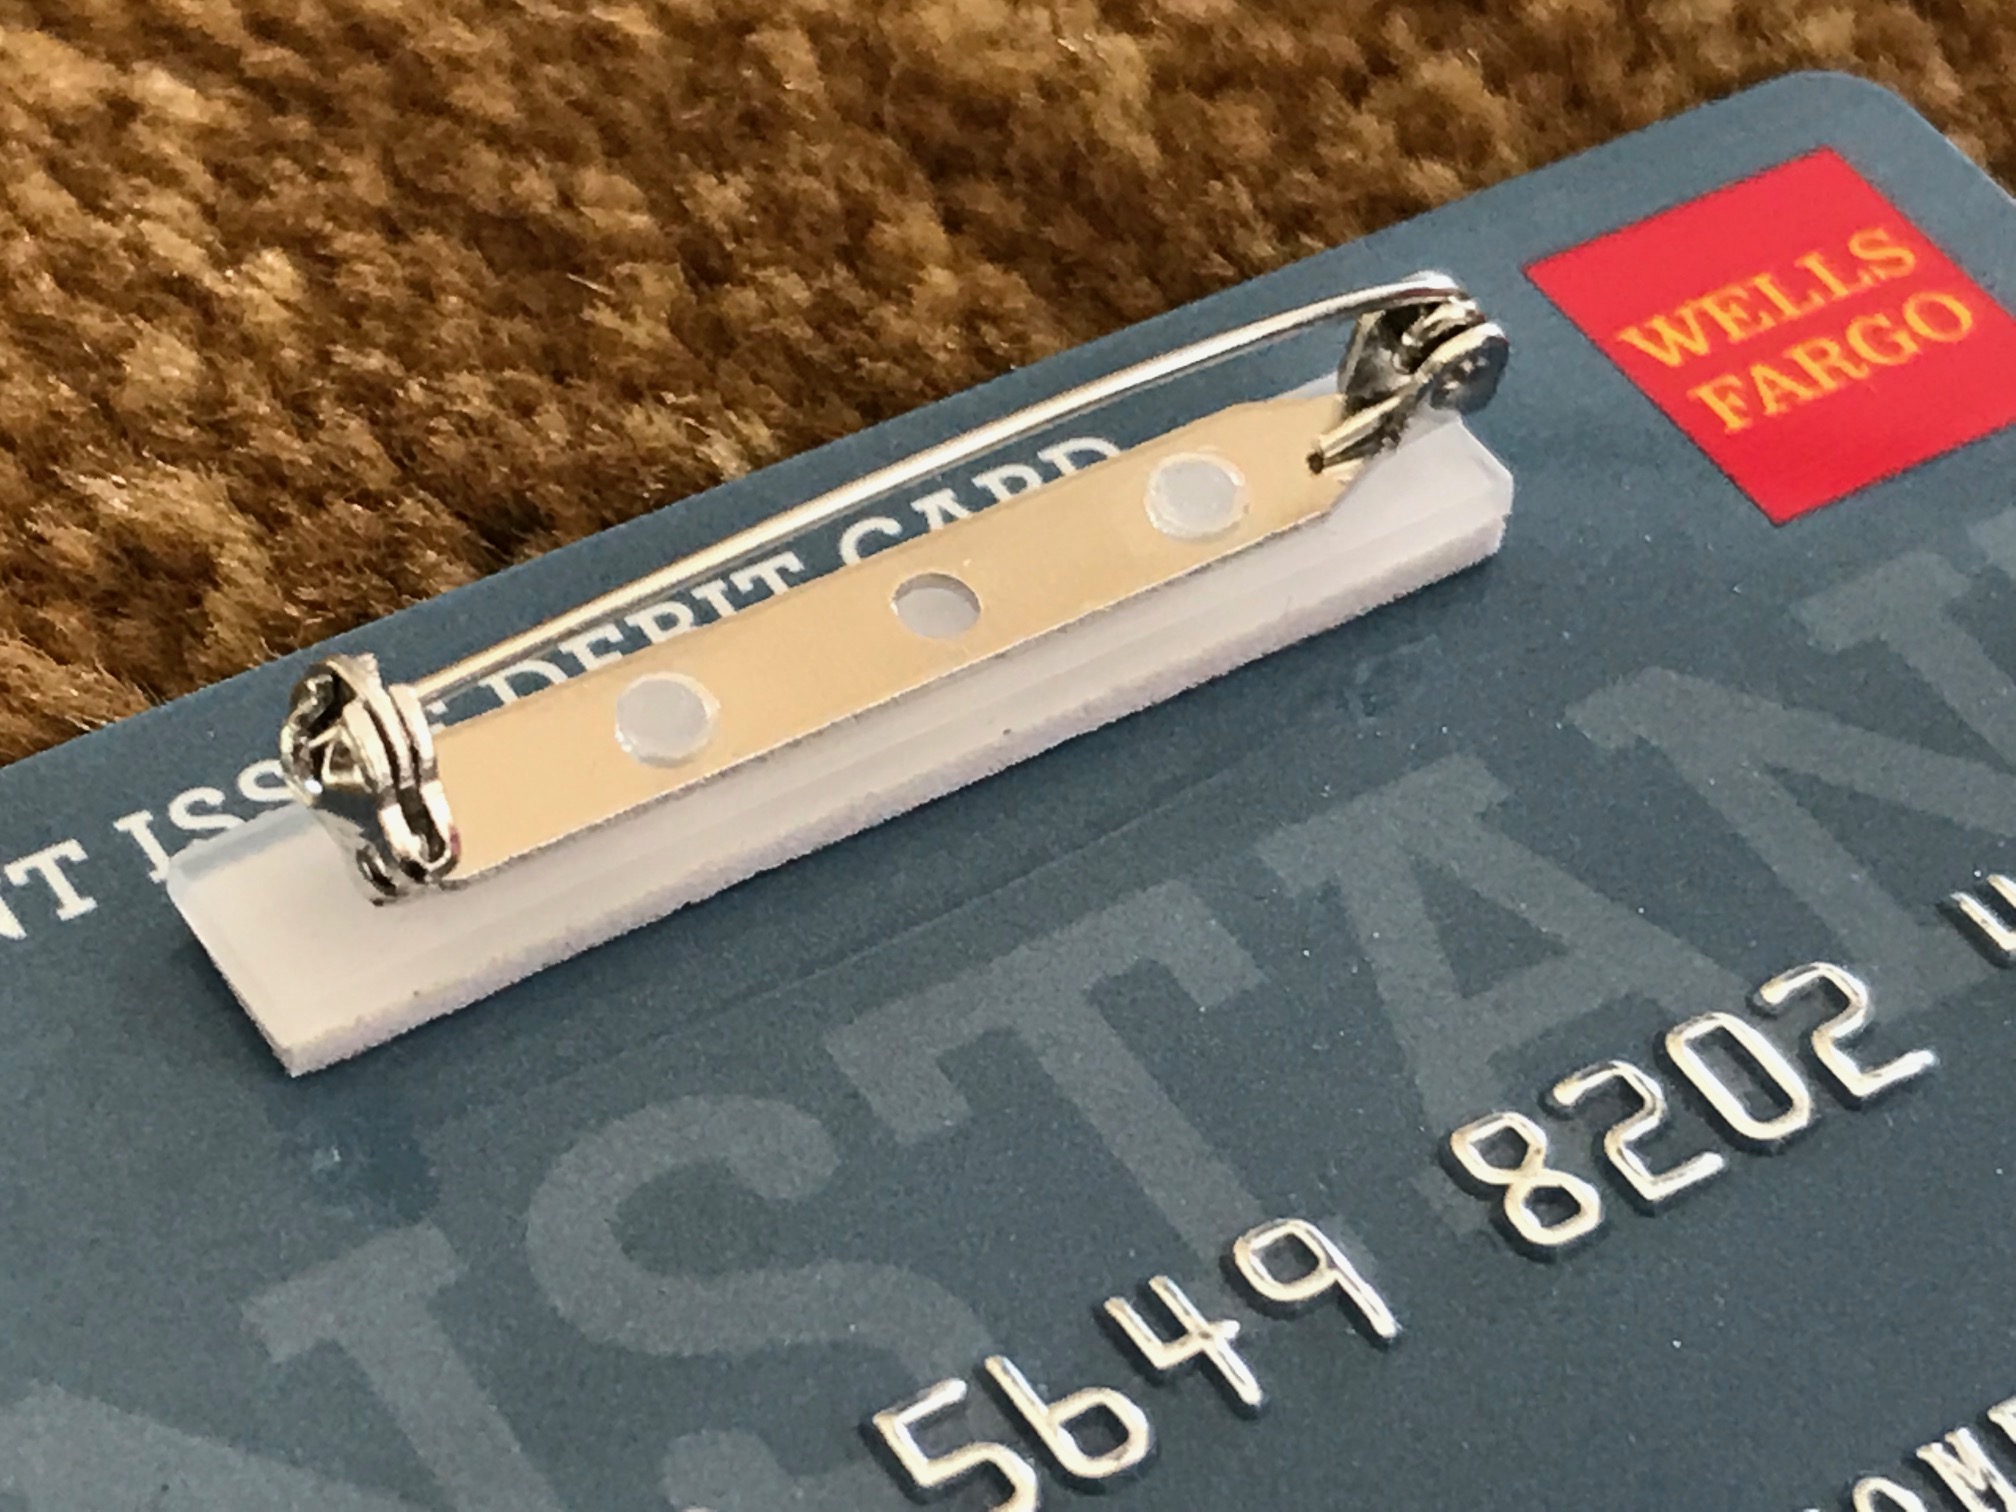
Now, all you need to do is to decide how you want to attach your patch to your gear. Two good options are a safety pin or Velcro.
I prefer a safety-pin style attachment as it seems to be the most secure. For the ones pictured, I used “bar pins” (basically, safety pins with a flat strip on the bottom. The ones I got are self-adhesive and are really easy to attach. If you don’t want to spend the money on bar pins (they’re about $3 for a pack of 24), you could just use a regular safety pin secured with epoxy, but it will be a little trickier to install (you’ll have to hold or prop it perpendicular to the backing until it dries).
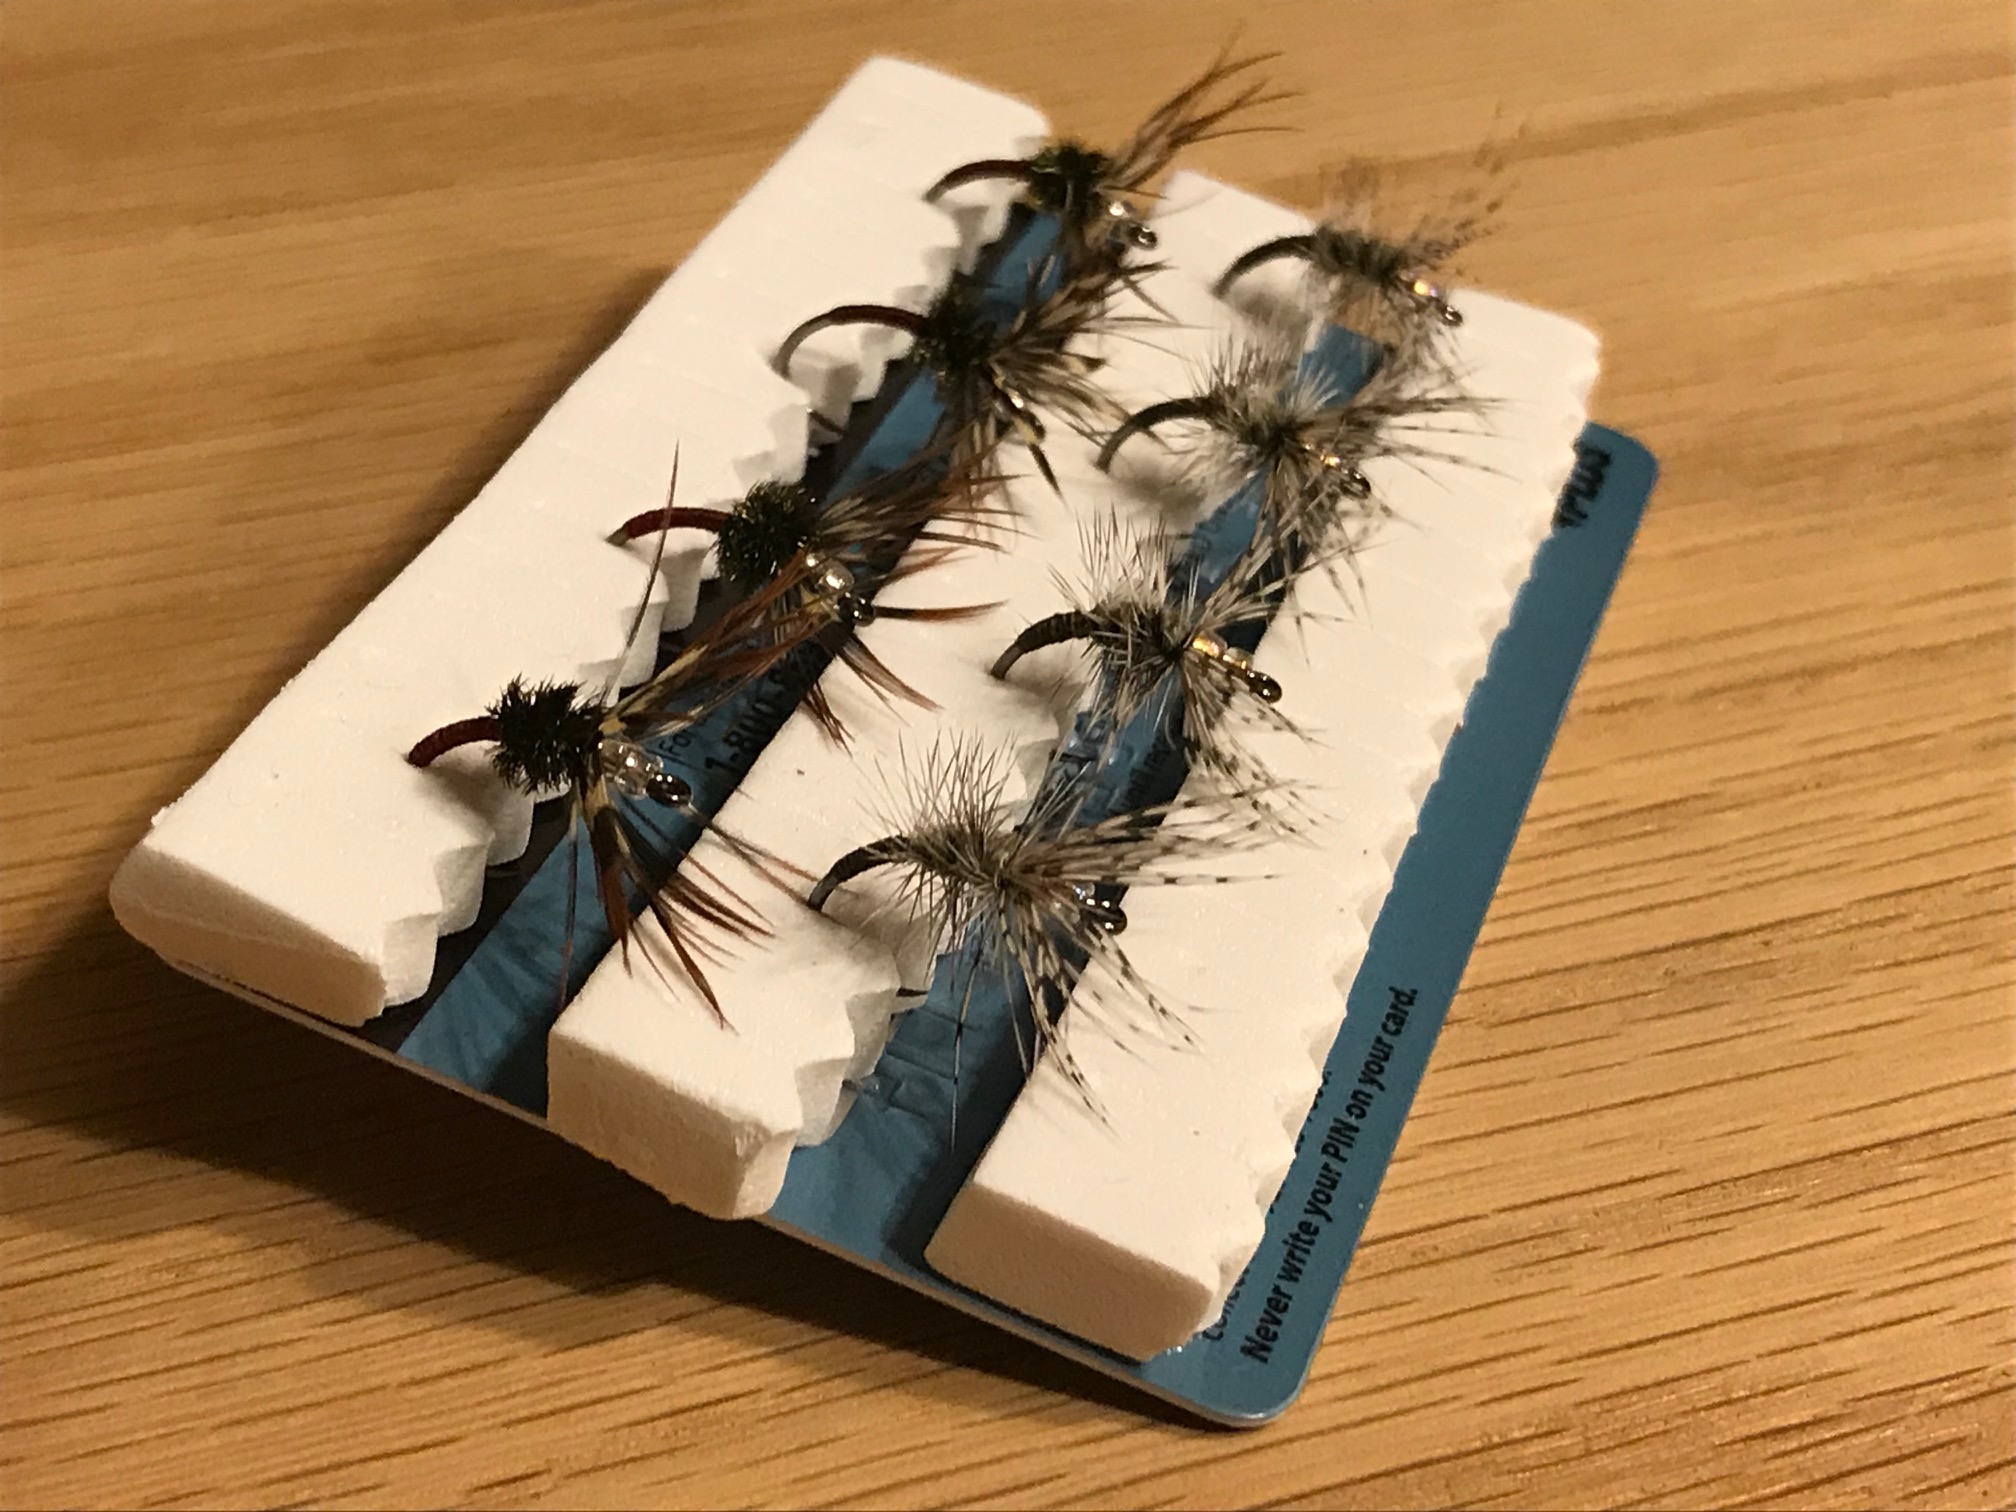
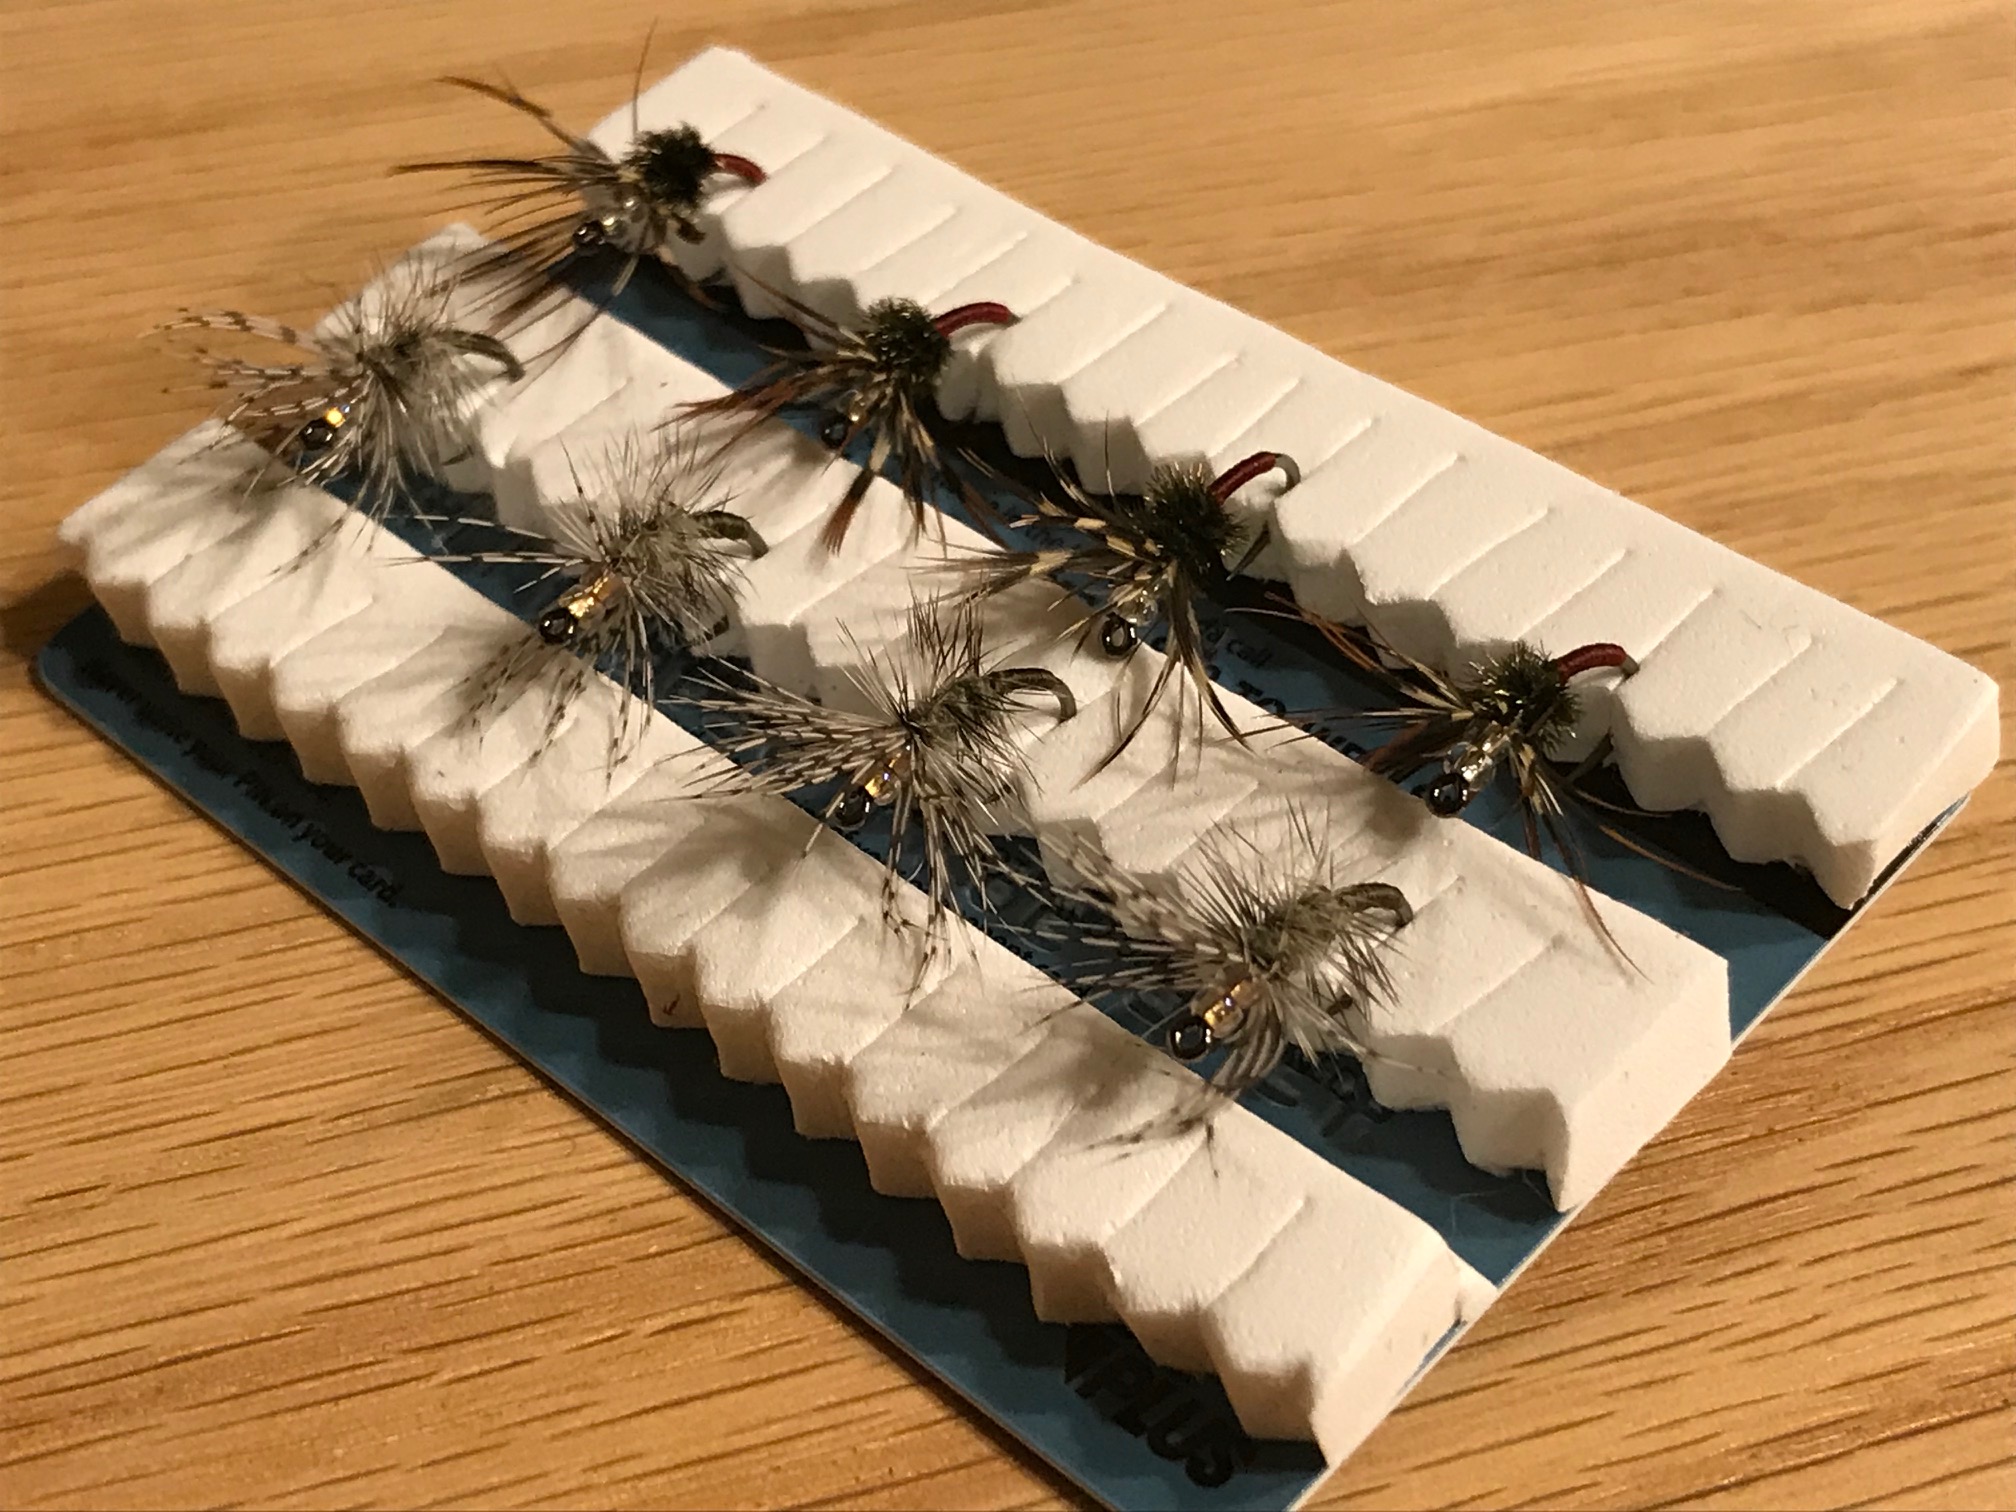
 You’re done! Now, you can easily back the hook bend of your flies in between the grooves and into the slots of your new patch to hold them securely without smashing the hackles.
Here’s one I’ve attached to the outside of my FishPond san Juan Chest Pack …
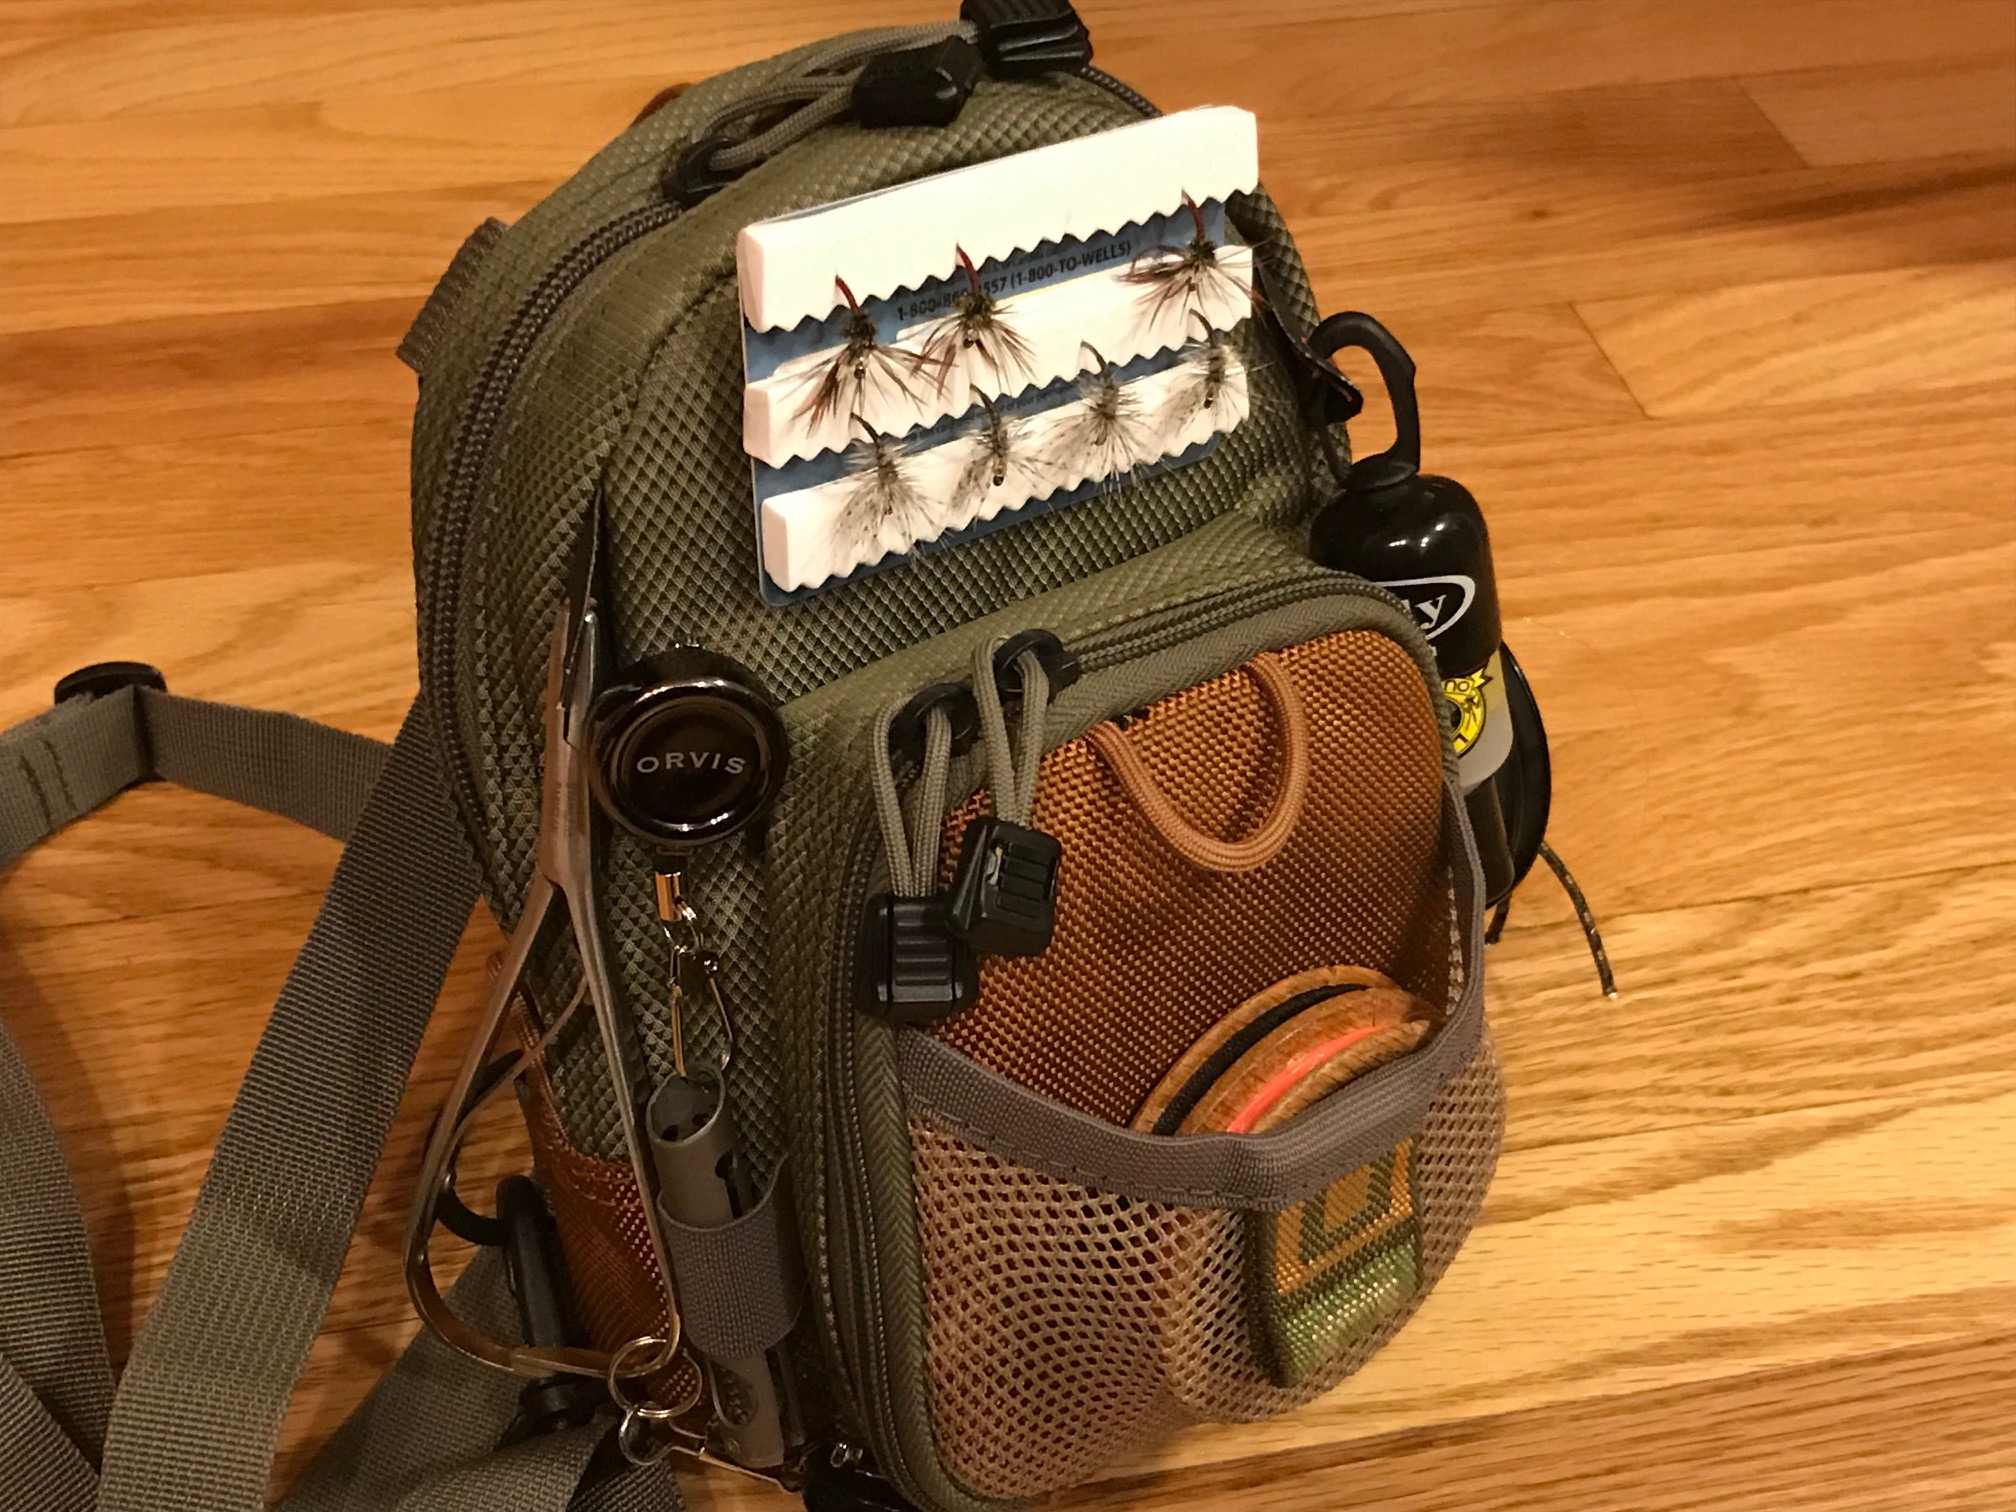 Many packs today come with Velcro either on the inside or the outside to attach fly patches (or other gear). If you want to attach Velcro to your backing, I’d recommend Loctite Vinyl, Fabric & Plastic adhesive (see above) and make sure you attach the hook Velcro to your backing (most Velcro that comes on such packs is the loop side).
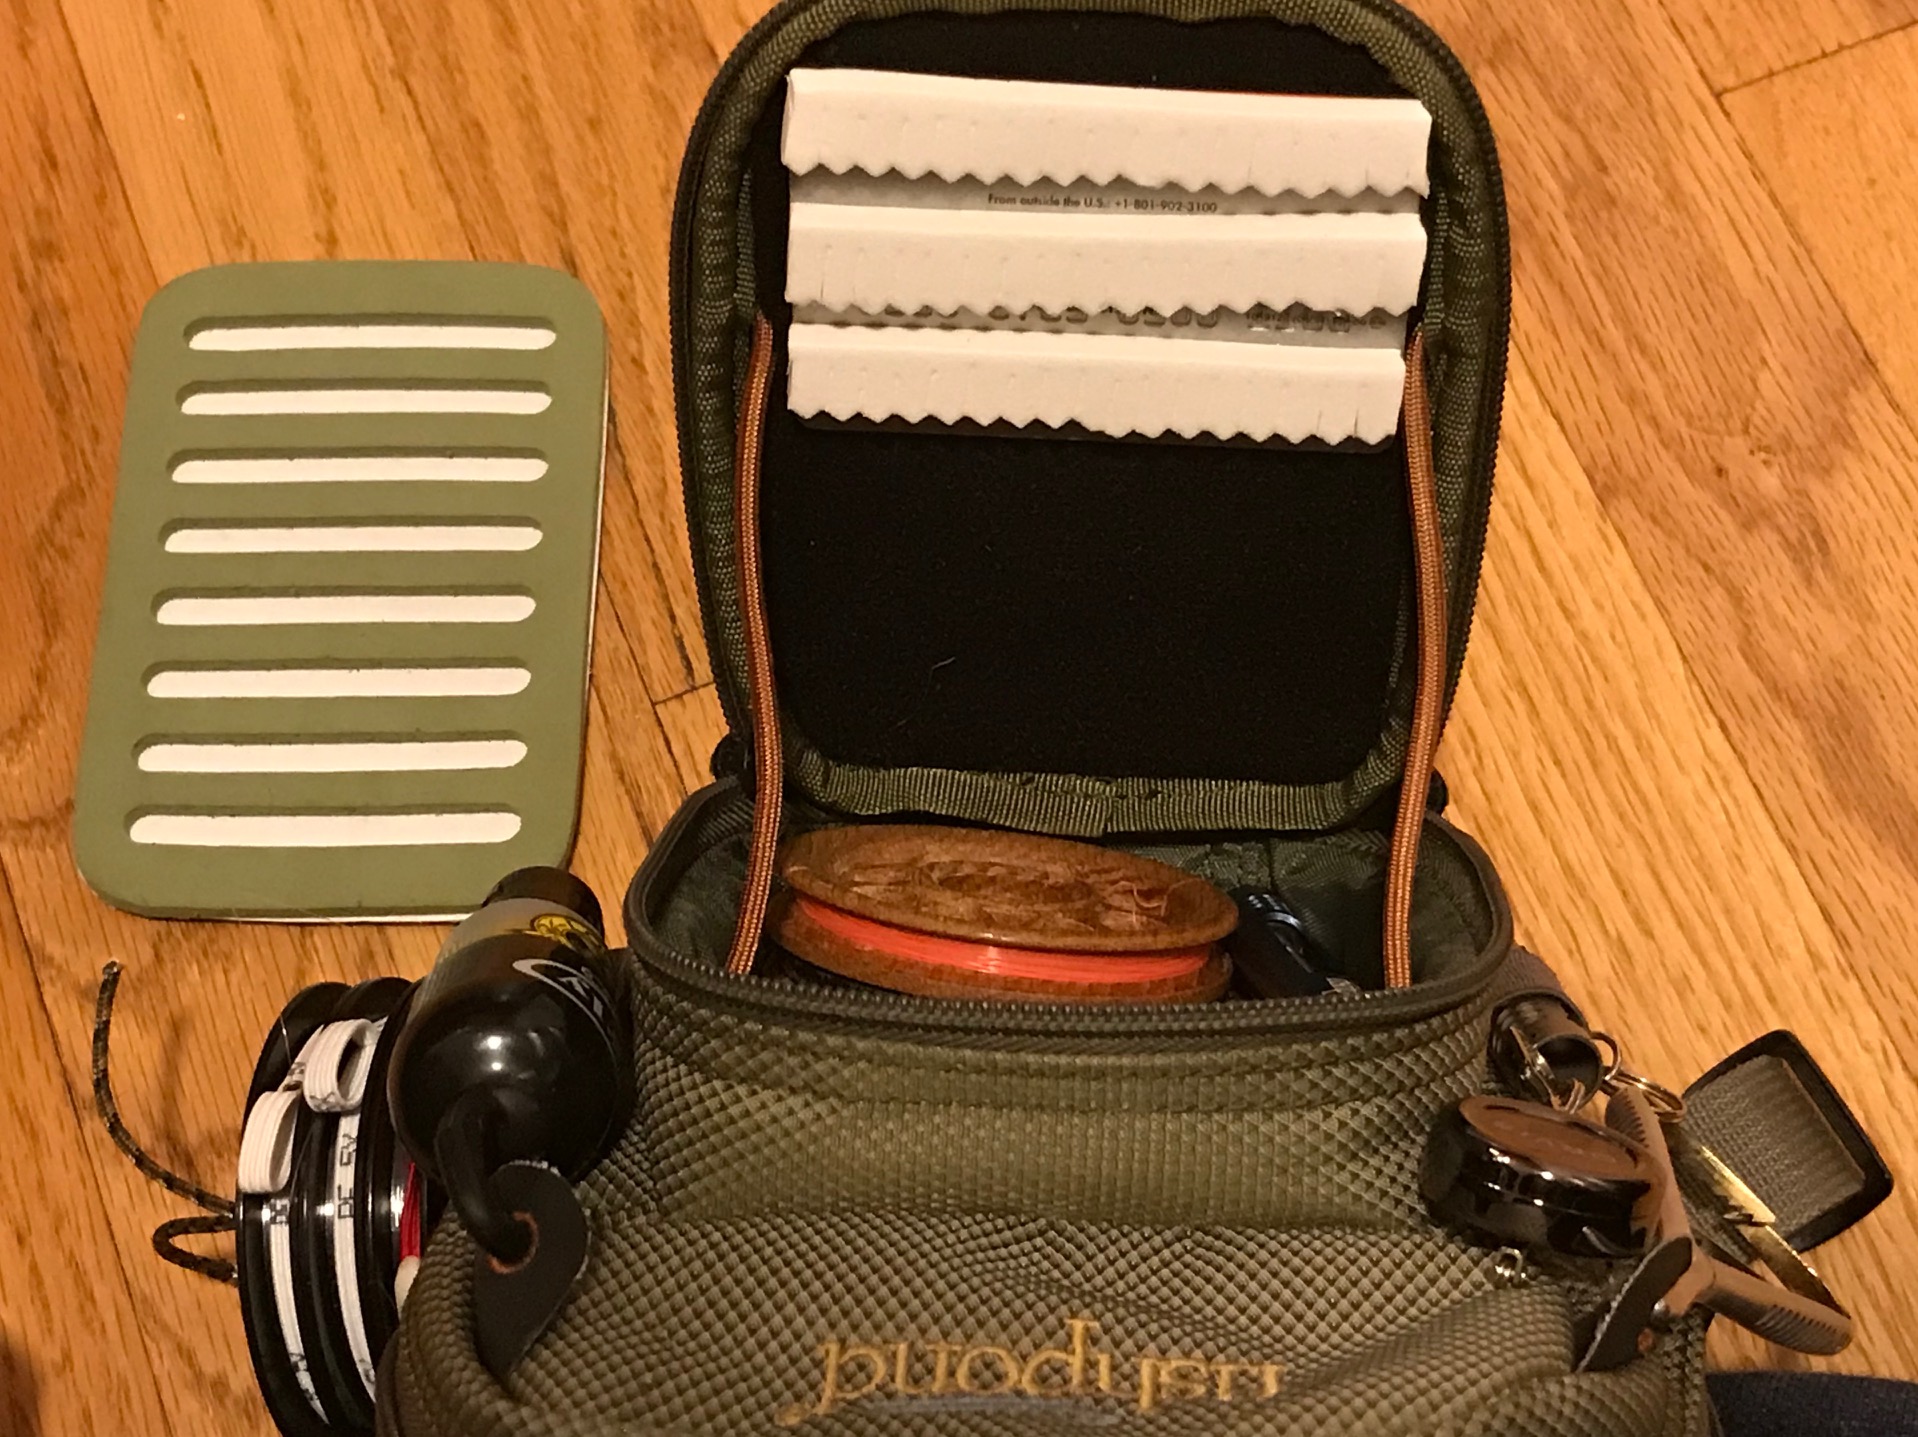
The inside pocket of my San Juan Pack comes with a foam insert attached with Velcro, but it’s much larger than I need and takes up room in the pocket that I’d rather use for stowing an extra spool of tippet or line. Switching it out for one of my DIY patches saves about 1/3 of the space. Since it’s inside the pocket, I don’t use it for drying, but for throwing in a few last-minute or experimental flies I want to bring with me but don’t necessarily want to commit to my fly box.
If you have to buy all the tools and materials from scratch to make one of these patches, you’re not going to save any money. It would be more cost effective to just buy a commercially available one. BUT, if you want to make multiple patches, for example, one for your pack, one for your gear bag, one for your hat, etc., or plan on giving some to your friends as small gifts, then it’s well worth it. The most expensive part is the pinking shears. And if you happen to have a friend that sews, you can probably just borrow some from them (they might even have some Velcro and bar pins for you too). And when you consider that you can apply the same technique to make your own fly boxes out of virtually any container, then a pair of pinking shears might be a good investment.
I hope you found this quick tutorial interesting or useful and that is sparks your imagination for your own designs. If you decide to give it a go and put your own unique spin on it, please post pictures in the comments section below so others can see!
P.S. Before you say anything, none of these credit card numbers are valid, so there’s no threat of identity theft.


Nice that once you have the technique down you can customize the length/size of the strips for any box
Excellent How-To on making the fly drying patches. I’ve got everything on hand except for the craft foam.
I have a wine cork attached to my lanyard that I use for drying flies.
Cheers,
Steve.
Just two quick things Jason:
I like the flies & I like the smartly repurposed cards…all very cool!
There is a good possibility your mom or wife have Pinking shears in their sewing box. They have been around for ever especially for those over sixty who did any real sewing (not just buttons), back in the day.
As a side note, “Michael’s” has decorative scissors in their craft section and may save some money there.
Going into production now LOL
Thanks for great tutorial !
Hey Roger, sweet! Post some pics on the blog so we can see the finished product!
Thanks for great tutorial
Hi Jason –
Good tip. I use to put mu flies into the foam carriers after using them riverside, but I found numerous flies hooks became rusted when put away with any dampness there I could not see. Ruined flies.
What I made was an old take on traditional setups and it has worked well for me.
You can buy lambs wool still on the skin at most leather shops or perhaps online. I went for grey colored.
Cut a small square or rectangular patch about 1″ x 2″ or 1.5″ x 1.5″ and sew or super glue a small patch of the hook side of Velcro on the back of the skin side of the wool patch. I sew or superglue the loop side of the Velcro onto my fishing sling pack and some onto the top of the bill of a fishing hat. Going for a quick fish take a hat. Going longer, take the pack. These could also be pined to your wader straps.
I make several of these wool patches up and have them outfitted with flies of choice for different hatches or types of fish. You can also mount some Velcro somewhere convenient in your car for storing the patches.
What I have found is the wool allows air to get in around the hooks and allow them to dry out quickly and fully. No more rusty hooks for me.
Hey Mark, don’t you find the flies easily fall out of the lamb’s wool?